10 Things I Learned at My First Hackathon

IMG_4450

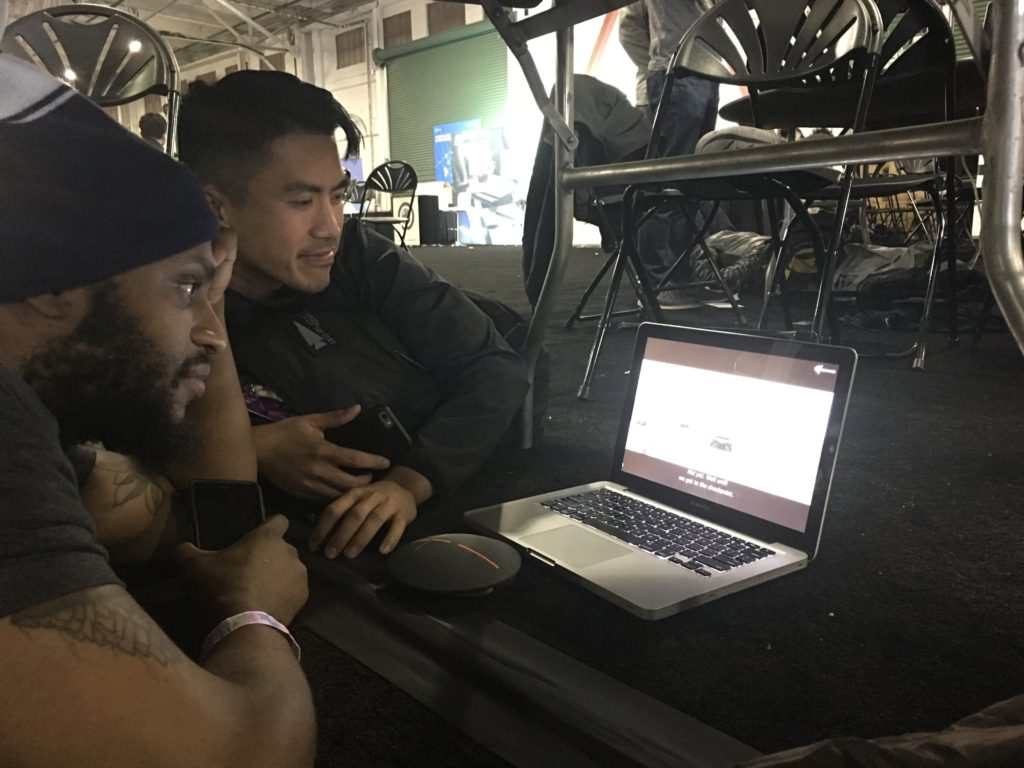
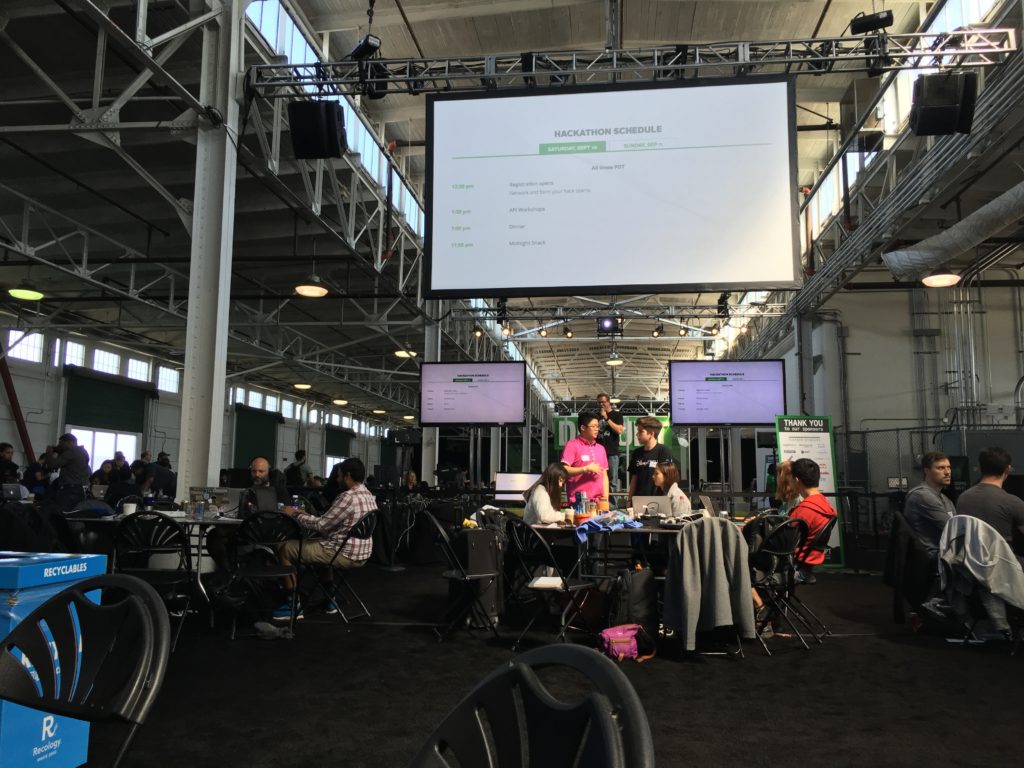
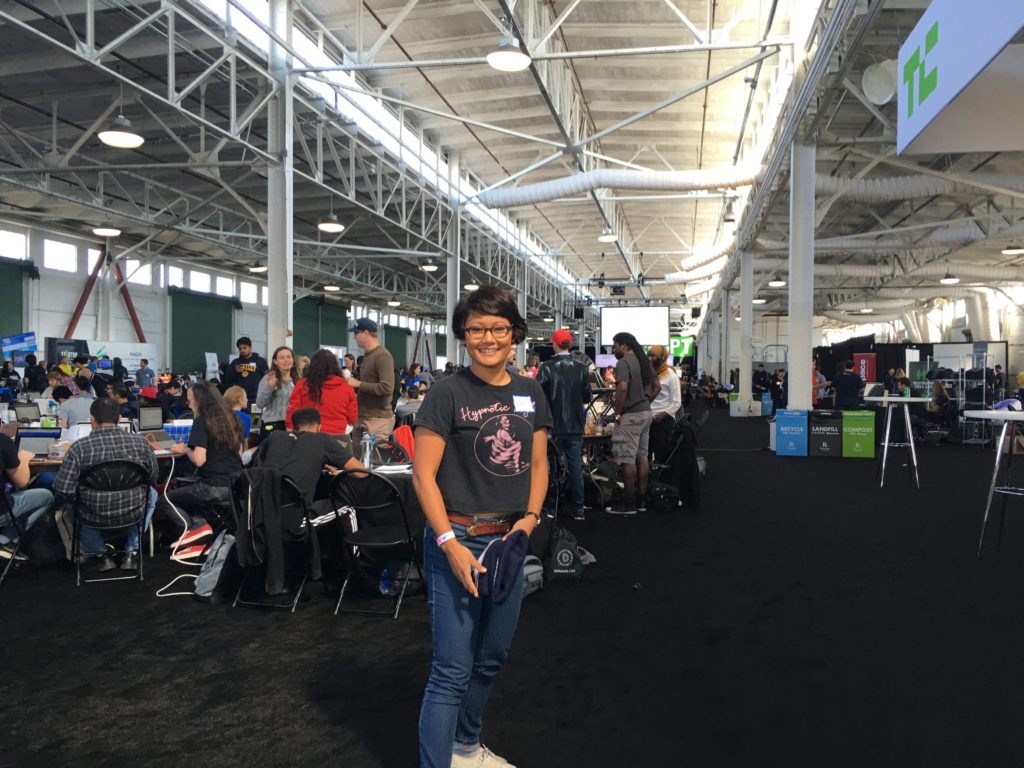
I forgot to mention it last week, but I finally attended my first hackathon! Ryan helped me score tickets to TechCrunch Disrupt’s Hackathon, a 24 hour test of “coding endurance.” This was the big time! I pulled together a small team of San Francisco Learn-ers, plus my roommate.

I didn’t have a concrete goal for the event. Mostly I just wanted to take it all in and have fun, meet some new people and feel inspired. Our team ended up pivoting at the last minute and running out of time to finish our project,  but I did learn a ton just by being there. So, in no particular order of importance, here are some tips for your first hackathon:

  1. Don’t go hungry – Usually food and drinks are available, but just in case there’s nothing to your liking, pack some backup snacks and drinks.
  2. Be comfy – Wear layers. Wear stretchy pants. It might get cold if they jack up the AC. In our case, the event was held in a huge drafty refurbished pier that was right on the water. Cold wind blew through the open doors at all hours. My classmate who was only in a t-shirt was miserable by nightfall.
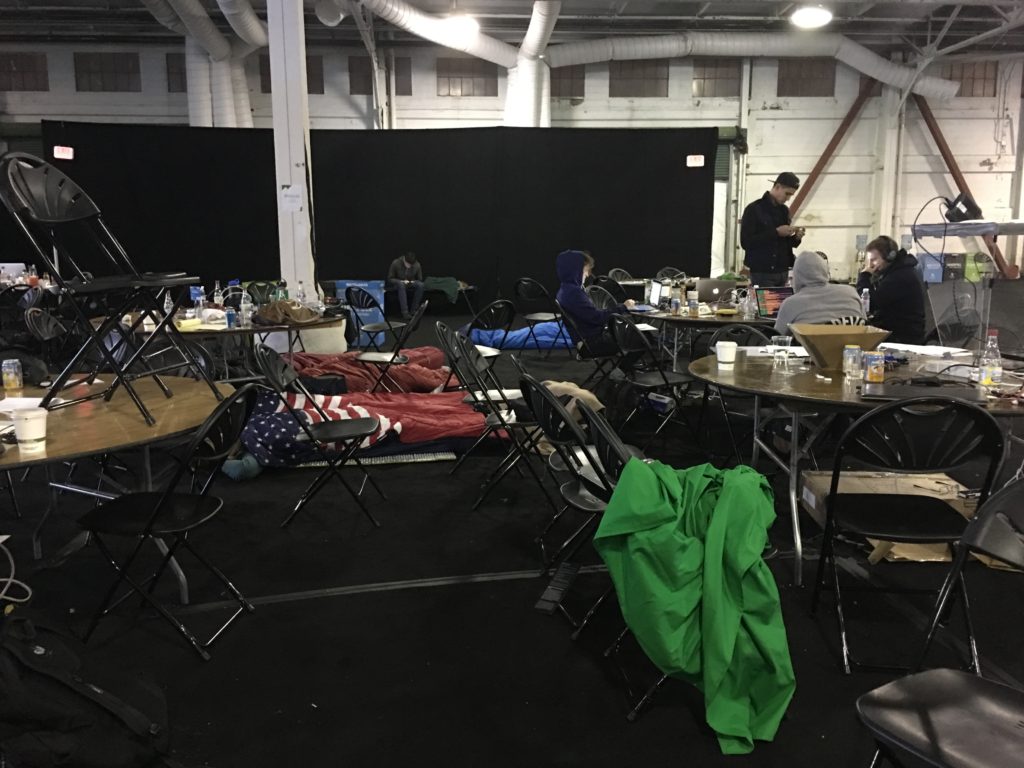
  3. Decide whether you’re going to sleep over and if so, bring a sleeping bag! I felt like an idiot at first for bringing mine, but as the hours crept on, the sleeping bags came out. Some people even brought cots!
  4. If possible, form your team beforehand, and pick a team leader. It seems like it naturally comes about based on whose idea is used, but it helps so much having one person keeping everyone else on task.
  5. Possibly more important, come to the event with project ideas, and an idea of what technologies you’d like to use. We spent wayyyy too long just bouncing around ideas.
  6. There were some great API workshops at the hackathon, but you would have a leg up if you spent the day before the event brushing up on the available APIs. You can find this information on the hackathon’s website. Just check out the rules or sponsors section.
  7. GitHub + Trello = Organization! We immediately created a repo for our work, but having a Trello board would have helped us keep tabs on the state of the project. GitHub has a new projects feature, which is very similar to Trello, so I’m looking forward to using that in my next group project.
  8. You may be going HAM on your project, but be sure to make some time to network! Chat with the reps manning the booths, do silly things to get schwag (I jumped through so many hoops with Cisco Spark to score pizza for my team), meet your neighbors… and of course be nice to the poor staff working the event.
  9. Don’t be afraid to change your project idea at the last minute. All the cool kids are doing it. We changed ours at oh… approximately 7pm.
  10. Your project doesn’t have to be perfect. Just get the damn thing working enough to show it off. Don’t make it any more complicated than you need to!

Here are some more pictures from the event:

IMG_4452

IMG_4459
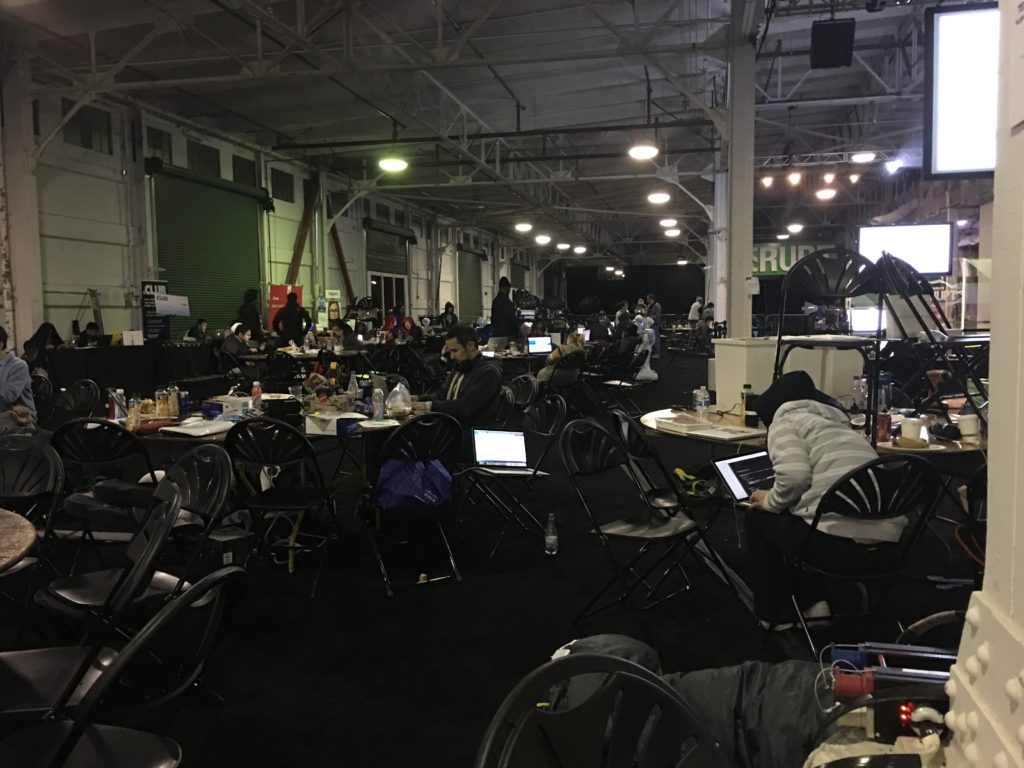
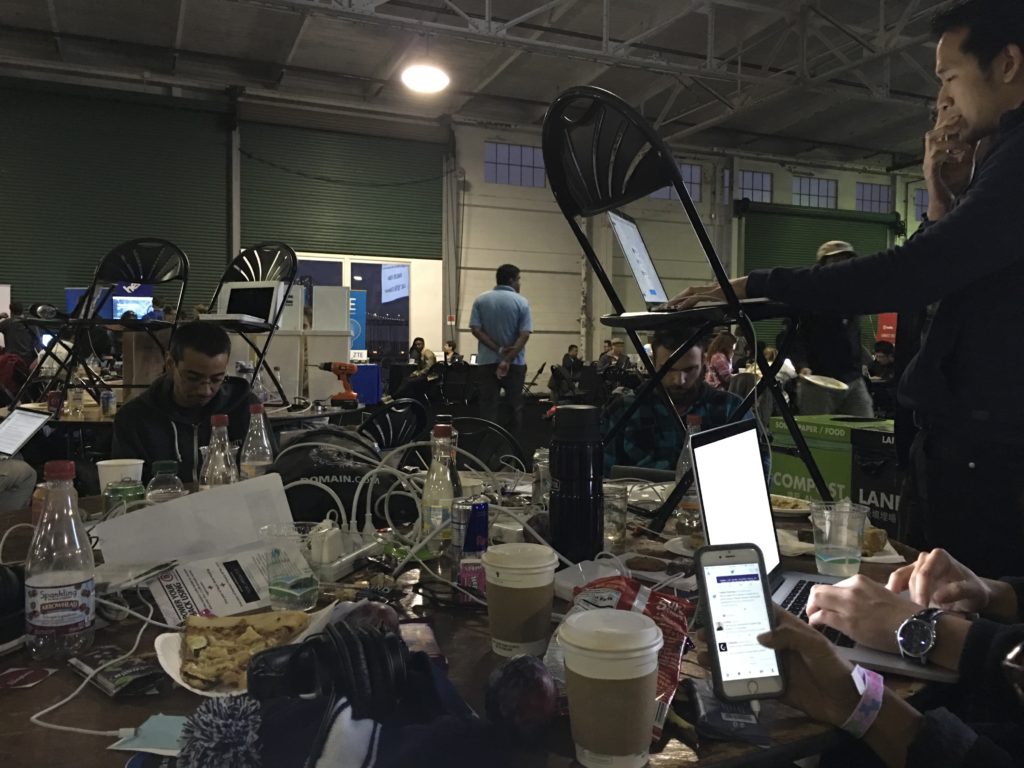
Several hours in and the tables were covered in pizza, candy, charging cables, coffee, schwag, and… makeshift standing desks
Midnight
Midnight
3am study break
3am study break
IMG_4475
4 am


IMG_4474
Sleepy time

Refactoring Hangry!

Oh my. It’s been a while since I blogged here. Well, first off the good news: I graduated from my program! The bad news? Well it’s not really bad news, but damn finishing was tough!

Remember how I said the key to getting through these LV assessments was to keep it simple, hit the project’s minimum technical requirements and then jazz things up? During my Angular assessment I received lots of great suggestions for improving Hangry!

Actually, they weren’t really suggestions. They were more like additional requirements for me to graduate, which was annoying, but I understand why the instructors would want to push us harder on our last official project. To be honest though, I was pretty mentally and emotionally zapped by that point, and it was disheartening to see the finish line moved at the last minute. I took a day off to clear my head, and then I was ready to get back into it.

It took me about a week and a half to add in these refactors. They all are aimed at flexing more muscles with Angular. There’s of course always more work to be done, but here’s what I’ve added:

Angular has a few directives that are useful for cleaning up your code:

The original error messages around my form validation for adding a new restaurant were built with ng-if, which quickly became messy. I switched over to using ng-messages, which was quick and easy. I just had to install ngMessages with bower, add ‘ngMessages’ in to the array of app requirements, and then I was able to use them straightaway in my form template. The actual code when using ng-messages still took up a fair amount of space, but things were much more readable.

I created a custom directive to contain the visual representation of a restaurant result on the index page. The resulting directive <restaurant-result></restaurant-result> made things a lot cleaner and semantic in my code. What’s loading here? A restaurant result! One thing that stumped me for a minute was the naming of my directive. Because of how Angular converts names, calling the directive RestaurantResult was incorrect. You have to name it in camel case (restaurantResult) in order to get Angular to convert the directive correctly to <restaurant-result>.

File Structure

With the increase in complexity to my app, I thought that it made sense to move over to Angular’s way of organizing your file structure by feature. So, instead of having folders just for controllers, views, directives, etc… I had folders for “restaurants” and “reviews.” I got it a bit wrong at first, however, in that I included components with objects. So “nav bar” for example is included at the same level. I still need to go back and clean this up.

Authentication & Devise 

Another suggestion was to implement authentication. Allow people to register for accounts, log in and save information to their accounts. To be honest, I was actively avoiding authentication during my first go round with setting up my assessment project. I’d read a few too many horror stories online, and just looking into tutorials the approaches for making Angular + Devise + Rails work together were all over the place.

With the major bits of my app in place, I went ahead and decided to give it a go, using Devise. First I installed it on the Rails side with the Devise gem, and then I bower-installed the Angular-Devise service for interacting with Devise.  I ran into some initial issues with handling the user’s authenticity token, but for now, a user can register, log in and log out. One bug: Devise flash messages don’t show until you refresh the page. This is because I set up my flash messages incorrectly. They should be handled by Angular. I’ll need to go back and fix that as well.

Other improvements seemed to be creeping this project more and more in the direction of Yelp: 

Another functionality that seemed like an obvious improvement was adding on the ability for users to review restaurants. Once users reviewed restaurants, that restaurant would be added to their dining list, a list of places they had visited before. Adding reviews was simple enough- I set them up as a join table between users and restaurants.

Since reviews were for restaurants users had visited, I also added on the ability for users to filter results to see only restaurants they’d never been to.  This filtering was accomplished on the Rails side with a class method.

As I mentioned in my previous post, I was looking into integrating Google Maps functionality on my Restaurant show pages. There are ways to do this without Angular (ahem, jQuery), but this was a good time to try out the popular Angular-Google-Maps. Just you know, trying out the most Angular that I can.

Even following the QuickStart guide line by line, I ran into some bumps, but Avi worked with me for quite a while and we managed to get things running. The major things that got in the way were loading Lodash and where I was adding my $scope.map object. My map was meant to be shown on the show page, which was handled by a showController, but my $scope.map was added to a mapsController. I was planning to have multiple controllers on the show page, which was unnecessarily complicated. Once I just moved the $scope.map over to the showController, it just worked.

Seeing the maps populated, I breathed a sigh of relief, but there were still a few more steps to go to actually implementing these map directives. I had to geocode the restaurant’s address. I ran into issues accessing my address data, but that was because I needed to account for accessing the data from the $resource $promise. The last hurdle: getting the place marker to show up. The code itself was simple enough, I just had problems with when the expression was being run. That was fixed with $evalAsync(), which is in the same family as $scope.watch and $scope.apply.

Next Steps:

The work is never done, is it? There are so many things I want to do to fix up Hangry!. Still it’s a relief to officially close the book on my program. I’ve already started job hunting, and it’s overwhelming as well, but that’s another blog post. 🙂
Rails + Angular Project: Hangry!

Here we go! This is my last assessment for Learn Verified. To finish off the AngularJS section, we were tasked with creating a single page app, with an Angular front-end, and a Rails back-end.

Specific Requirements Included:

Angular

  1. Must use an Angular Front-End that includes at least 5 pages
  2. Must contain some sort of nested views
  3. Must contain some sort of searching as well as filtering based on some criteria. Ex: All items in the “fruit” category, or all tasks past due
  4. Must contain at least one page that allows for dynamic updating of a single field of a resource. Ex: Allow changing of quantity in a shopping cart
  5. Links should work correctly. Ex: Clicking on a product in a list, should take you to the show page for that product
  6. Data should be validated in Angular before submission
  7. Must talk to the Rails backend using $http and Services.

Rails

  1. Backend created with JSON that accepts and stores the data for Angular

Project

Based on my experience with past assessment projects, I knew that I shouldn’t go too fancy. Get the project working to hit the minimum requirements, THEN have fun with it. Since the last several projects I’ve done were variations of CRUD apps (CRUD in Sinatra, CRUD in Rails), I decided to do another CRUD app, this time to see the way Angular likes to do things. I also knew that I wanted to work with the Yelp API.

So my app allows you to CRUD restaurants (well CRU for now, I didn’t care to add Delete as it seems like something you’d only want an admin to do, and I don’t have roles added yet…). New restaurant information is validated using Angular form validation. Restaurants on the restaurants index page are populated to the page with ng-repeat, and you can filter your results by searching by name or city with the filter directive. You can also search the OpenTable API for restaurant suggestions (ng-resource). On the home page the search results are nested, using UI-Router.

Code on GitHub Here

Here’s the walkthrough. I forgot to show the form validations, but they are there!

Issues & Notes About This Project / AngularJS / My Program

So, I mentioned in my last assessment that my program’s curriculum seemed a bit lighter on the JavaScript and jQuery sections. Unfortunately, it only got worse with AngularJS. This was easily the weakest section of the whole program, and unfortunately it was at the very end, when my patience was at its lowest. I felt like I was adrift at sea during the Angular section, and the dearth of lectures for Angular was frustrating.

One of the best parts of the LV curriculum is how each topic seemed to build logically on top of the previous topic. It really helped with comprehension. The Angular section on the other hand…. the lessons were like “HEY! Look at this cool shit Angular can do! SO COOOOL.”  And then the next lesson would be “Hey look at this other random thing Angular can do. HA ha!hAAA Angular is so cray you guyz.” The underlying framework of how everything fit together just didn’t really feel like it was there. Even more annoying was the fact that the lessons actually said things like, “See isn’t that easy? Angular is so simple!”

NO. No it’s not easy. This is exploding my mind. SHUT UP.

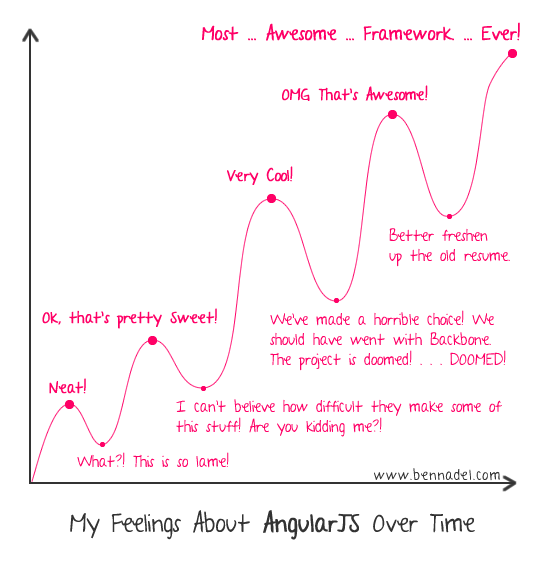
Honestly, this cartoon really captures the emotional rollercoaster of AngularJS well.

angularjs

Anyways, thank the coding deities that I listened to my classmates and chose to buy Tony Alicea’s very popular Learn and Understand AngularJS Udemy course. It almost didn’t happen, because I’m cheap, but yeah, I really was that desperate. I even bought it with a Udemy coupon that was ONLY 40% off. Whatever happened to those 99% coupons? I miss those.

The Udemy course helped a lot, however you know, it still took a while for my mind to really get it. Checking out as many resources as possible is what helped me piece things together.

ANYWAYS, this is all to set up my mindset at the time of starting this project. I should also mention that I was starting to get stressed about money, and really needed to finish things up. So I was frustrated and broke. Okay, a little overdramatic, but you get the idea.

Technical Issues

It took me a while to figure out how to rig up Angular to work with Rails. I looked at a variety of sources, and this tutorial was rather helpful.

Conceptually I got how things were connected, but while creating this app I kept tripping myself up with the naming of my controllers. They were too similar, and I made a blunder in my code referencing the incorrect controller. This single mistake cost me an entire day to ferret out.

Another major pain point was working with Yelp. Yelp is my go-to site for planning all of my meals out, and their API looked promising. Alas, it was a pain in the butt. I spent a good 2-3 days trying to make Yelp work, even looking into their gem. Then I stumbled upon a thread from 2012 where people were complaining about Yelp removing its API documentation for JavaScript. Uh… like 4 years later and it’s still nonexistent. I took that as a sign that I should move on. Angular was going to be hard enough, I didn’t need to stall on an API. Thankfully I found the Unofficial OpenTable API. It didn’t have the richness of data that Yelp offered, but it is simple to query and requires no API keys. Hallelujah!

My last major hurdle was getting Bootstrap to work with AngularJS (it gets funky because of jQuery). I ended up just using the CSS, and that worked fine.

Next Steps

I’d like to integrate Google Maps into the Restaurants show page, and it would be great to get that Yelp API hooked up as well.

This is my last project and assessment for my program, so it’s time to start job hunting!I’m going to try to keep the momentum going on my learning, though. I’m going to be working through the algorithm and project sections of Free Code Camp, Harvard’s Intro to Computer Science course CS50 , and Mackenzie Child’s design and Rails courses. If you know of any back end junior dev  jobs, let me know!

How to Write a Better Git Commit

Code reviews and assessments are two of the most useful parts of the Learn Verified program. A key thing that I learned during my Rails Assessment a few weeks ago is that potential future employers are going to be critically looking at your GitHub commit history. Well I knew that people would check out my GitHub of course, but it helped to know what others are looking for.

Now there are quite a few different schools of thought about how to write the best (aka most useful to other people checking out your code and your future self as well) commit message, but I’ll try to summarize what I’ve learned via assessment conversations and comparing notes.

One thing that I heard that surprised me is that employers will look at your commits and actually compare your changes with the description. Do they match? Or are there other things in there that you forgot to mention? Are the commits regular? I will admit that in the past I was not great about this. In the past I was committing willy-nilly. At certain points I would be like “Oh I haven’t committed in a while, better take care of that”, and then I would try to remember what I’d done since my last commit. Bad idea!

DOs

  • Commit early and often. Perhaps every 5 – 10 minutes. Something is worth committing when you’ve been really typing for a bit.
  • Consider making your commits feature-based. So for example:
  • Set up User authentication with Devise
  • Move jquery and bootstrap from script tags in layout erb to gems in asset pipeline; fix the issue of nav button dropdowns not working after creating a new attraction by adding document.ready(toggle) to js
  • I haven’t tried this yet, but have a subject line and a body, leaving a line in between for readability.  Capitalize your subject line, which is really a short summary of the change (50 characters or less). Use the body for explanation. Blank lines between paragraphs. Thoughtbot suggests ditching the -m flag altogether, to get yourself in the right state of mind.
  • Probably most important: Explain why the change was made, how it addresses the issue, any design decisions, and any foreseeable side effects the change will have.
  • I suppose this is a syntax and style thing, but it seems like most people prefer the imperative tense as it implies a command and matches Git’s tense. So, “Fix” or “Change” instead of “Fixed” or “Changed” for example.
  • Wrap your commit messages to 72 columns to prevent overflow. This is another thing I haven’t tried yet.
  • Say you thought you had fixed an issue during a certain commit. Say you realize that no, this time you’re really fixing that feature. Instead of committing “Fixed Feature X for real this time”, you can go back and amend your previous commit. Check out git commit –amend.

Phew! That was a lot, but if you think about it, it’s mostly common sense.

jQuery Project: Vacay+

I’m at the point in my program where all I’ve got left are projects and the corresponding assessments. Awesome and terrible. Awesome because projects are where the learning really happens, and where I tend to get into a flow. Terrible because project time is usually when my ego takes a hit. My track record for amount of time spent on projects has been all over the place. Would it take me a day or two to finish this project (Sinatra)? Or 3 weeks (Rails)? Also, the assessments with Learn instructors have been immensely helpful, but I get a bit nervous. So I tend to schedule my  assessments a ways out and over-prepare with my review of the material.

If you read my Rails assessment post, you might remember that my next steps were to extend the functionality of my Rails project with some jQuery magic. Hrm. Okay, not gonna lie, it took me a while to figure out what they were asking for, as each of the requirements didn’t necessarily ask for an additional feature, it seems like they were mostly describing specific design choices in order to implement the first couple of features.

Here are the Specific Project Requirements and my choices:

1. Must render one show page and one index page via jQuery and an Active Model Serialization JSON Backend. 

I had multiple models to choose from (Attractions, Destinations, Users, Trips), but since vacation planning was the whole point of my app, trips seemed like the obvious choice to work on. I wanted to be able to reveal a little bit more information about a trip on the index page, and on the trip show page I wanted to be able to cycle between all trips with a next button, for inspiration.

  • *Trips Index page has a “More info” link that expands a section under the trip to show the trip’s city, start date and end date.
  • *Trips Show page has a “next” link which updates the page by showing the next trip.

2. Must use your Rails API to create a resource and render the response without a page refresh 

This confused me for a long time until I went back through the end of the curriculum. Then I realized that it probably meant I was supposed to use AJAX post to create a new object. I chose to create a new attraction.

  • *Via the Attractions page, you can create a new attraction (and associated destination and trip, which was a feature of my old app as well), and it will show it to you on the same page by exposing the new data in a hidden div, with no refresh.

3. The Rails API must reveal at least one has-many relationship in the JSON that is then rendered to the page.

  • *Index page – a User has many Trips.
  • *Show page – a Trip has many Attractions.

4. Must have at least one link that loads, or updates a resource without reloading the page.

  • *Index page – has “More info” link that loads … more info
  • *Show page – “Next trip” link 

5. Must translate the JSON responses into Javascript Model Objects. The Model Objects must have at least one method on the prototype. Formatters work really well for this.

This part confused me as well.  I guess they were asking for the JSON responses to be turned into JavaScript objects first before the updated data was rendered to the page. So for example I’d hit the page for trip information (in JSON), and then take the info I needed to create a JavaScript Trip object. Then I’d take that object and use it in the rendering of the information. Also, I’d have to add a method to the prototype. Easy enough.

  • *Trip has the countdown() method
  • *Attraction has the formatUrl() method

Anyways! Here’s a walkthrough of my updated project.  

Read more

Scroll To Top