Craft, Health

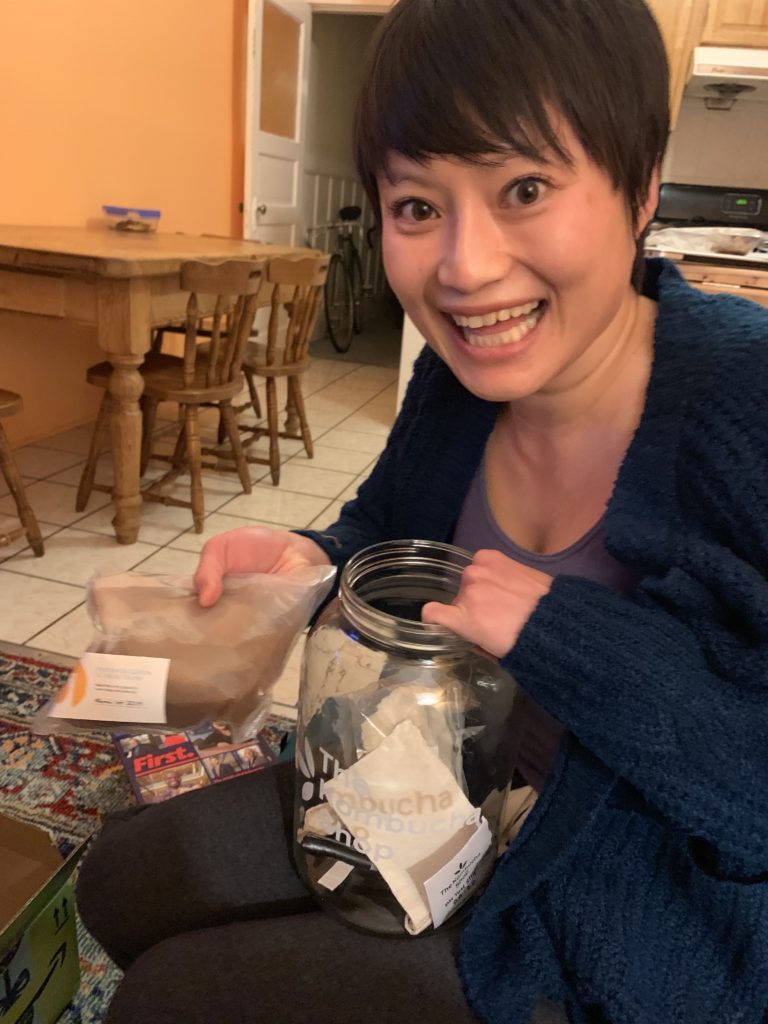
I almost titled this post “Making Kombucha is Gross.” Because it is. So look away now if you don’t want to see giant moldy looking hocky pucks of bacteria! Or to be precise, the SCOBY (symbiotic culture of bacteria and yeast).

I’m a big drinker of kombucha, and it’s not a cheap habit, coming in at about 3.50 per 16 oz bottle. The fermentation is supposed to be good for your gut, but really I just like the fizzy tangy flavor. It’s funky. I knew that I should take the next step into brewing my own, but I just couldn’t get myself to do the research in order to get what I needed.

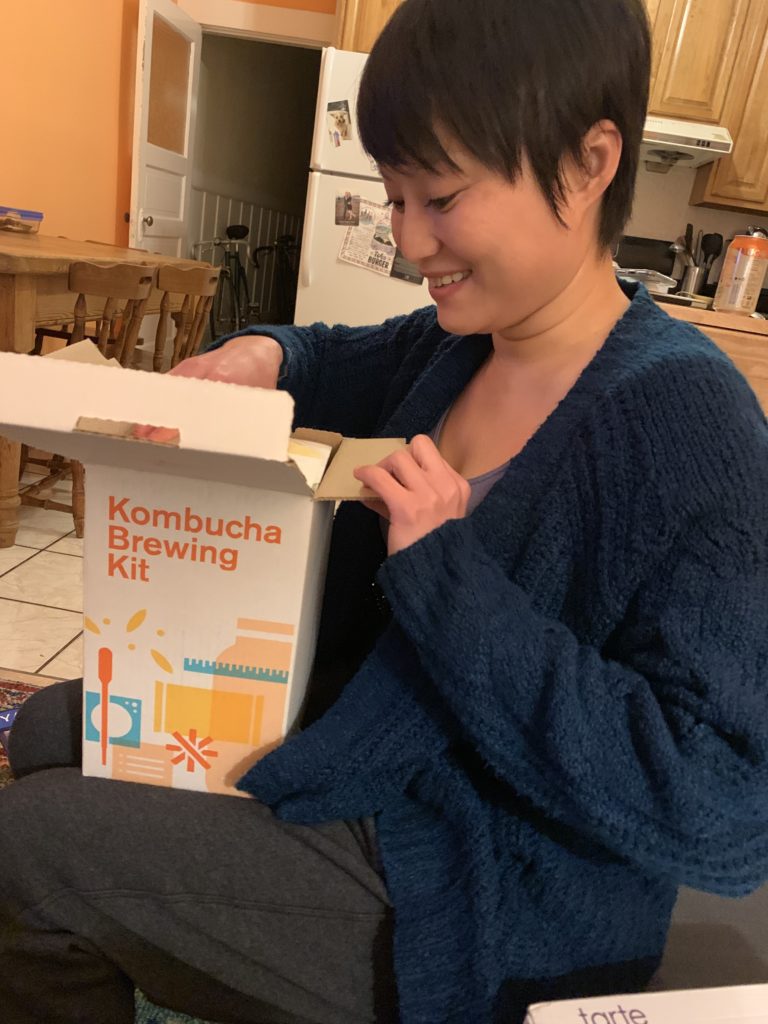
Thankfully there are kombucha starter kits. I asked Ryan’s parents for one for my birthday, and lo and behold! I had no more excuses.

What’s this?
Just what I wanted! Bacteria and yeast!

How to Brew

Making kombucha is pretty easy. It’s also a lot more flexible than I’d imagined. Here’s basically how it works, when making a gallon:

  1. Make some sweet tea. Boil 4 cups water, add 3 tablespoons of tea (not herbal), add 1 cup sugar. Pour into your brewing container.
  2. Add 8 cups of cold water to the sweet tea.
  3. Wait for the mixture to cool to between 68 – 86 degrees.
  4. Check that the PH level is within range – 4.5 and below.
  5. Add the SCOBY to the mixture along with some starter tea (included with the SCOBY on purchase).
  6. Cover the brewing container with a filter on top, either cloth or a coffee filter. This keeps the tea clean of debris and allows the carbon dioxide to exit the container. Leave it somewhere warm and dark. I didn’t have a great spot, so I chose the top of my fridge, and added some towels to keep the jar from getting too cold.
  7. After 7 days, use a pipette to slip beneath the SCOBY culture and grab some of the tea. Taste it. If it’s too sweet, let it go for longer. If it’s too tart, add sugar in the second fermentation process, and brew for less days next time. You can ferment for up to a month, I think.
  8. Remove the SCOBY, putting it aside with about a cup or two of the tea to use as a starter for the next batch.
  9. Pour out your tea and drink it as is, or go on to second fermentation.
  10. Second fermentation: add sugar of some sort (sugar or mashed up berries or juice) to the tea, stir. Bottle the tea into individual bottles. Leave out to ferment several more days. The culture in the tea will keep eating the sugar, and create carbon dioxide, creating that nice fizzzzzz. Move to the fridge.
  11. Make more tea with your SCOBY and starter tea or put it away until later.

Results

I’ve just finished up my fourth batch of kombucha. Here are the results so far…
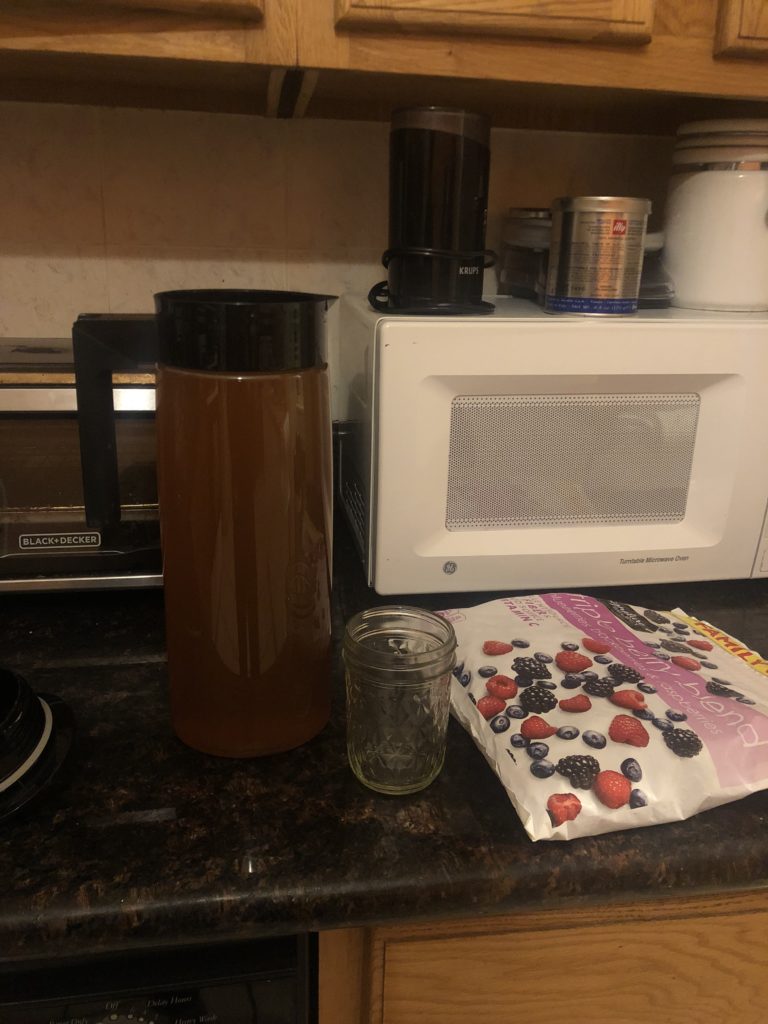
Brew #1

My first batch turned out really awesome, probably because I followed my kit’s instructions by the book. I used the Ceylon tea that was included in my kit, letting it sit for 13 days while I was vacationing in Budapest. Then I second fermented by adding defrosted frozen berries. I didn’t have individual bottles, so I used an airtight pitcher. The taste was really nice. One thing that I didn’t realize… Each time you brew kombucha, a new SCOBY grows on top, and grows to fill the container. Every time. At this point I had a double layer SCOBY.

Brew #2

The second batch I brewed with David’s Tea Red Velvet Cake black tea. This tea is special because it includes chocolate chips and sprinkles that melt into the tea and make it creamy and sweet. It’s a ridiculous dessert tea. I threw in my double layered SCOBY, fermenting for 24 days, then second fermented in individual bottles with just sugar. It turned out okay, but tasted a bit artificial due to the tea. Wouldn’t do this again.

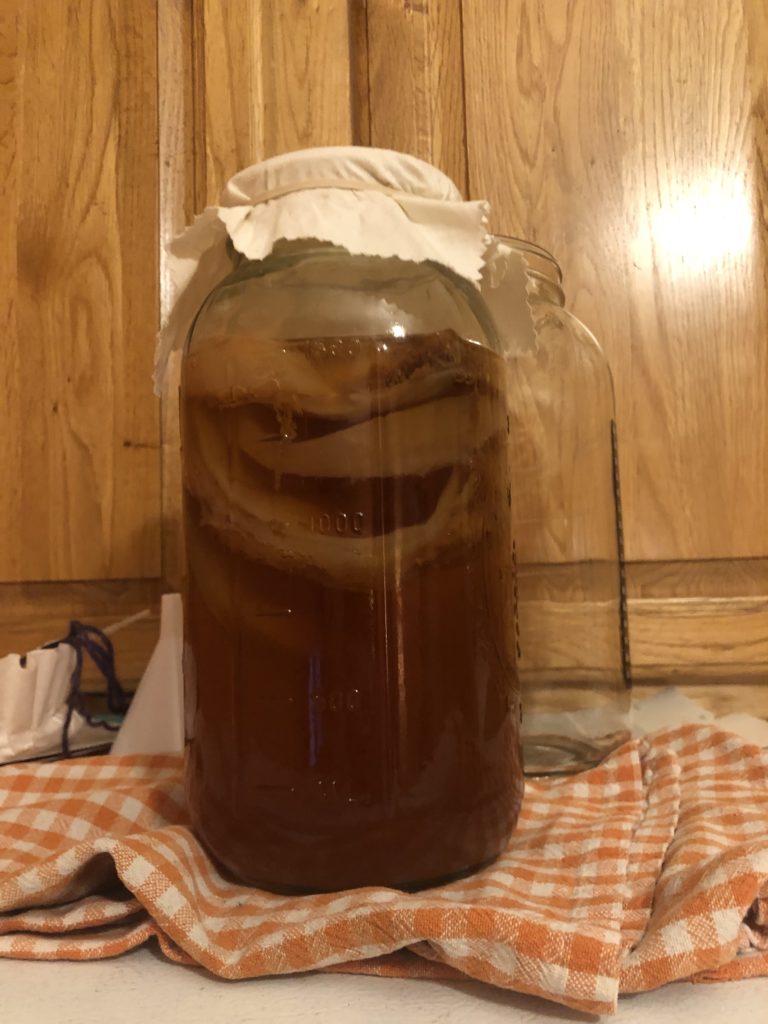
Here’s a closeup of my brew jar for batch #2. The temperature reads as 64, which is about 10 degrees lower than it ought to be, and slows down the fermentation.

In this picture you can see that there are 2 layers of SCOBY.

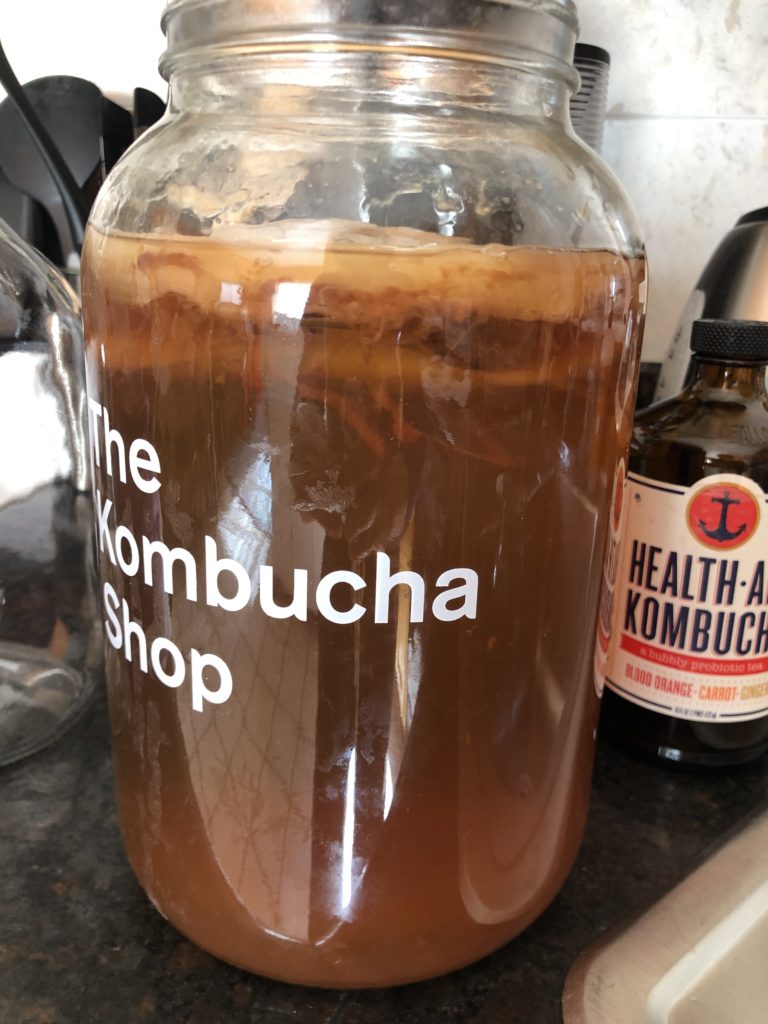
I decided to cut the SCOBY into 2 separate pieces for batches 3 &4. Here is a picture of that SCOBY pulled out onto the chopping block.

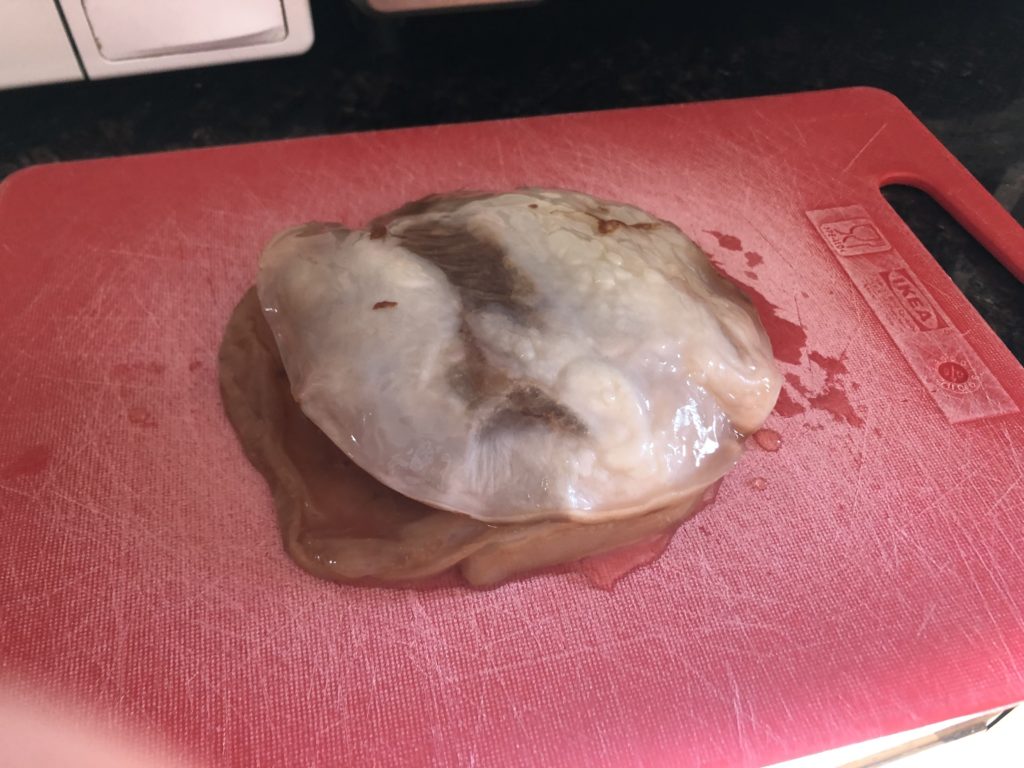
The perfectly circular brown puck is my original SCOBY. The white is everything that has grown during my brews. The brown strands are yeast.

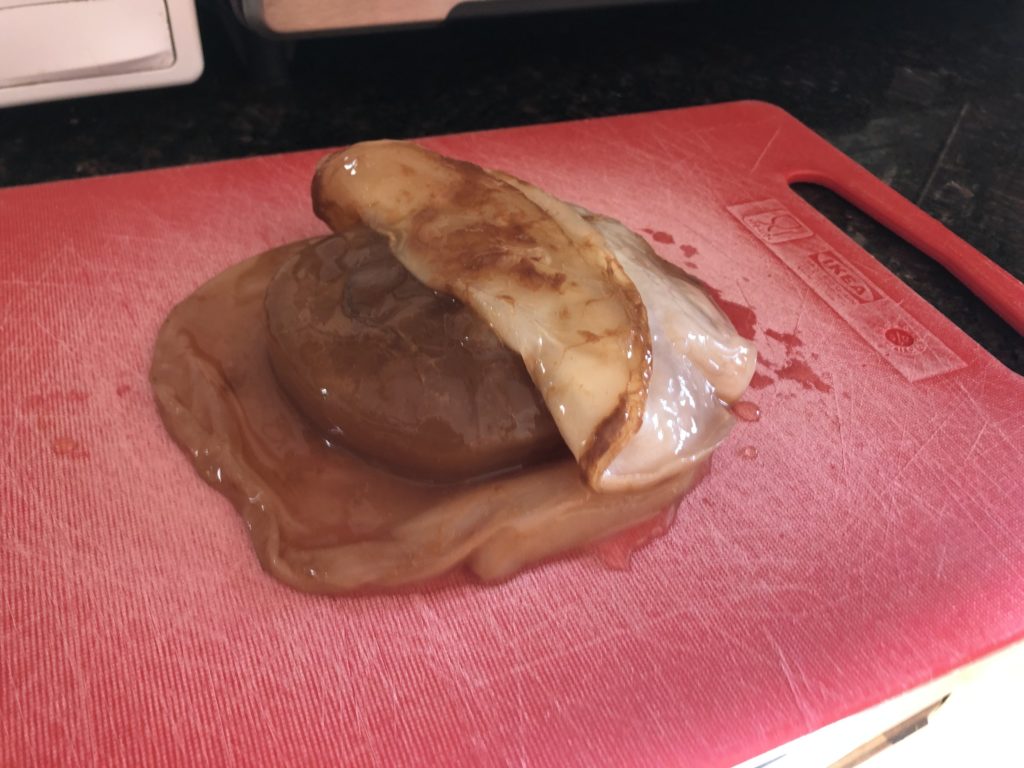
Ta da! And then there were two!

Brews 3 & 4

The third and fourth batches were brewed simultaneously, fermenting for 9 days.

I used Trader Joe’s Winter Wakeup tea, which is a spicy black tea with ginger and cinnamon with the new baby SCOBY. Fourth batch was a half batch of Trader Joe’s Earl Grey tea, using the original SCOBY. The Winter Wakeup kombucha turned out very odd. To be honest, I’m not a huge fan of this tea normally. At this point I still had kombucha in the fridge, so I just called it a wash and threw a whole gallon of tea out! The Earl Grey was less of a disappointment. It tasted perfectly tangy with major Earl Grey undertones, so I skipped the second fermentation. My favorite combination so far!

Things have gotten a little crazy… Now I have 4 SCOBY. TBH I felt a bit overwhelmed, so I created a SCOBY hotel. I’m just going to let them sit there until I’ve drunk down my tea.

Money Saved?

So in the last month and a half, I made 3 1 gallon batches and 1 1/2 gallon batch. I threw out a gallon of tea. At 16 oz per bottle of kombucha, I made 20 bottles of kombucha. 20 bottles at $3.5 = $70! If I hadn’t have thrown out that gallon, it would have been 28 bottles, or $98. Not bad!

Not gonna lie, I still buy store bought kombucha from time to time. But I do really enjoy brewing my own, and I’m looking forward to trying to make a green tea kombucha.The only thing that I have yet to figure out is how to get that super burning fizzy carbonation in the bottle. I’ve heard it’s sometimes artificially added, but I want to second ferment for even longer, and see if I can replicate it.

Craft, Knitting

Knit: The “Filly”- Horseshoe Lace Headband

20140418-162128.jpg

The thing that I love most about knitting is that out of the same basic stitches you can create so many different and beautiful designs. Colorwork, cables, and my favorite … lace, all come from the same base stitches, with a few tricks thrown in.

After plowing away on quite a handful of winter and summer hatsfor my shop, I felt like a change of pace.

These lace knit headbands are quick to knit, featuring an easy but memorable horseshoe lace pattern. Also, the yarn is a pleasure to knit with. The mix of silk, wool and nylon makes it perfect for spring weather. I have knit up a few for my shop. It’s kind of hard to stop, they go so fast. This pattern is so simple that I feel silly writing it up, but here it is:


The “Filly” – Horseshoe Lace Headband

  • Yarn: Elsebeth Lavold Silky Wool
  • Needles: Size 6
  • Dimensions: 2.75 inches tall X (width varies)
  • Guage: Not critical

Horseshoe Lace Pattern (Slightly modified on the wrong side because I did not read the pattern correctly!):

In Multiples of 10 + 1 extra stitch

  1. (Right side) k1 *yo, k3, sl1, k2tog – psso, k3, yo, k1*
  2. (Wrong side) Purl all sts
  3.  k1 *k1,yo, k2, sl1, k2tog – psso, k2, yo, k2*
  4. Purl all sts
  5. k1 *k2,yo, k1, sl1, k2tog – psso, k1, yo, k3*
  6. Purl all sts
  7. k1 *k3,yo, sl1, k2tog-psso,yo k4*.
  8. Purl all sts

Pattern:

  1. CO 17 stitches.
  2. Right side: P1,K1,P1, knit to the last three stitches, P1, K1, P1
  3. Wrong side: P1,K1,P1, purl to the last three stitches, P1, K1, P1
  4. Repeat rows 2 & 3 once, for a total of 4 rows
  5. Right side: P1,K1,P1, *Work the first row of the Horseshoe Lace Pattern*, P1,K1,P1
  6. Continue working the Horseshoe Lace Pattern, with a seed stitch border, to the desired length.  For Newborns, this will be about 9-10 repeats, or 12-14 inches unstretched. For adult women, this will be about 15 repeats. Basically just stretch the headband across your head to decide when to stop. 🙂
  7. Work two more rows of stockinette with a seed stitch border. End on the wrong side.
  8. Sew that baby up!

ETA: Thanks to a kindly reader who noted that line 7 of the horseshoe pattern incorrectly added a K1. I copied from my terribly scribbled notes. Anyways, pattern is currently updated. Let me know if there’s any other issues!

Modeled by my roommate!

20140418-162107.jpg


Baby sizes!
20140418-162002.jpg


Craft, Knitting

Knit: Dexter Fingerless Mitts

20140308-205153.jpg

IMG_0188

I’ve been making fingerless mitts for my Etsy shop with my leftovers from all the hat-making. Finally got around to writing down the pattern. Here are two quick versions, one knit flat, and the other in the round. It’s all “Well duh” knitting for an experienced knitter, but hey, never hurts to have a pattern, right? Enjoy!

  • Yarn: Worsted weight. About 75 yards or under. The pink yarn is Manos Del Uruguay Maxima in Peach MelbaThe brown and blue is Malabrigo Merino Worsted in 259 Charrua
  • Needles: Size 7 DPNs
  • Gauge: 5 sts/inch
  • Dimensions: Pink/Flat: 3 1/2 inches wide and 4 3/4 inches tall. Brown + Blue: 3 1/2 inches wide and 7 inches tall.

IMG_0185

IMG_0113

Garter Stitch Fingerless Gloves- Knit Flat (Pink) 

  1. Cast on 36 stitches.
  2. Knit in K2, P2 ribbing for 5 rows.
  3. Switch to garter stitch for 3 1/2 inches, or until you’re about .75 inches away from where you’d like your gloves to end.
  4. Knit in K2, P2 ribbing for 5 rows.
  5. Bind off in pattern.
  6. Sew up the sides of the mitts to accommodate your thumb.
  7. Weave in the ends. Voila!

20140308-205210.jpg

Stockinette Stitch Fingerless Gloves- Knit in the Round (Brown and Blue)

  1. Cast on 32 stitches on a set of double pointed needles.
  2. Join, and knit in K2, P2 ribbing for one and a half inches.
  3. K 1 row.
  4. Next row: K1F&B, K to the end
  5. Next row: K straight
  6. Repeat steps 4 & 5 3 more times to increase for a total of 4 stitches. You will now have 36 stitches total.
  7. Knit in stockinette until you reach the base of your thumb.
  8. Switch to flat knitting for several inches, until you reach the crook of your thumb.
  9. Rejoin to knit in the round again.
  10. Knit in stockinette until you are about an inch from where you’d like your gloves to end.
  11. Knit in K2 P2 ribbing for an inch.
  12. Bind off in pattern.
  13. Weave in the ends. Wheeee!


Craft, Knitting

Knit: House of Cards Hat

IMG_0225

IMG_0153

EDIT 10/18/2020: It’s been 6 years since I posted this pattern, and to my shock people are still knitting this hat! To be honest I’d forgotten I’d shared it on Ravelry. Anyways, my original decreasing instructions were terrible and vague as far as how to stay in the pattern, so I’ve edited things to include the exact rows you need to do. Sorry everyone in the past who tried this hat! 😅

Friends may have heard that I wanted to start an Etsy shop. Basically, I took stock of my skills and what makes me happy, and I realized that this was it. I’m a crafter at heart. I like making lovely, ugly, crazy and colorful things. I can draw and create all sorts of little strange useless things, but the most “real world” thing that I could sell would be my knitting. I’m insecure of my drawings and doodles, but proud of my knitting.

So. I spent the winter holidays thinking of different things to make, small things that might actually be profitable. Because that’s really the problem with the whole idea of selling knitting. If you realistically take into account the cost of materials and labor, then you come to a fair price that no one is willing to pay. Most people have been blinded by fast fashion prices and clothes made of cheap materials, and could not fathom paying $50+ for a hat.

Anyways, I kept thinking about it. I knit little coffee cozies. I knit dishcloths. I knit cowls. I scoured Etsy endlessly, noting trends in materials and popular styles. A friend sent me that Wall Street Journal article about arm knitting, noting its “high ROI.” Just 30 minutes to make and they’re going for $50 on Etsy! Not to mention they are UUUUGGGGLYYYY. I tried arm knitting. It was terrible. I purchased a LOT of yarn, hoping to find a happy medium between price and quality. It was a bit overwhelming, although the hoarder in me was very happy to be buying lots of yarn again :).

So my idea had been a bit stagnant for a month or so. Then, over the Presidential long weekend, I decided that I wanted a hat knit in Andalusian stitch. I’d knit at least three of the “Andalutheean knit dishcloth“, and I thought that the slightly nubby texture would be cute on a hat as well.

I cast on while watching season 2 of House of Cards, and after 3 false starts and stops (I was working without a measuring tape, URGH), I had my hat! I loved working with the yarn, but I never wear pink, so I put it up on Etsy. And now I have an Etsy shop . Well, that was simple. I’ve still got a ways to go as far as taking care of the little things, such as creating a proper banner for the shop and fleshing out logistics of shipping, etc. But! I think that this is a good reminder that sometimes we overthink things. Fuck ROI. Fuck market research! Sometimes you have a little fun making something silly and pink, and then you put it up on the internet.

So, here’s my hat. If you knit it, please let me know! I’d love to see pictures.

HouseofCardsHat1IMG_0068

The House of Cards Hat

Andalusian Stitch (worked across a multiple of 2 stitches)

  • Row 1: Knit.
  • Row 2: Knit.
  • Row 3: *Knit 1, purl 1. Repeat from * across row.
  • Row 4: Knit.

Materials: Worsted weight yarn. Shown in Manos Del Uruguay Maxima in Peach Melba OR  Malabrigo Worsted in Alpine Pearl

Guage: 5 stitches/ inch across, and 8 rows/inch tall in Andalusian stitch

Dimensions: 9 and a half inches across, 7 and a half inches tall. Fits a 21 inch head, give or take an inch.

Needles: Size 6 circulars, Size 7 circulars, Size 7 double pointed needles

  • CO 103 stitches on size 6 circular needles. Join the round by knitting together the last and first stitches. You now have 102 stitches.
  • Knit in K1, P1 ribbing for an inch and a half (about 12 rows)
  • Switch to size 7 circular needles. Knit one row.
  • Start Andalusian stitch. Work for 5 repeats.
  • During the 6th repeat of the stitch pattern, you’re going to start decreasing on Row 4. You’re going to be doing the decreases in pattern, on rows 2 and 4 of the pattern.
  • Row 4: *K15, K2Tog* Repeat until end. Start with 102 stitches, end with 96.
  • Row 1: K across.
  • Row 2: *K14, K2Tog* Repeat until end. 96 -> 90
  • Row 3: *K1,P1* Repeat until end.
  • Row4: *K13,K2Tog* Repeat until end. 90 -> 84
  • Row 1: K across.
  • Row 2: *K12,K2tog* Repeat until end. 84 -> 78
  • Row 3: *K1,P1* Repeat until end.
  • Row4: *K13,K2Tog* Repeat until end. 78 -> 72

Continue in this vein until you get to the row where you’re doing *K4, K2tog* (should be Row 2). Here things start decreasing fast. Follow these last steps:

  •  *K4,K2tog* Repeat until end. 36 -> 30 stitches
  • *K1,P1* Repeat until end. 30 stitches
  • *K3,K2tog* Repeat until end. 30 -> 24 stitches
  • *K2,K2tog* Repeat until end. 24 -> 18 stitches
  • *K1,K2tog* Repeat until end. 18 -> 12 stitches
  • *K2tog* Repeat until end. 12 -> 6 stitches

String yarn through remaining 6 stitches. Pull tight, and weave in the ends. Hat time! I ended up knitting a purple hat as well. So girly. Sheesh.


HouseofCardsHat4


Craft, Knitting

Knit: In Progress: Top Down Biggo Sweater

I’m chugging away on the Top Down Cozy Weekend Sweater in KnitPicks Biggo, and it’s been fun.

Progress, glorious progress.

20131218-213228.jpg

Check out that 8 inches of hot cowl action. Boring to knit! But necessary.

20131218-213237.jpg

And here it is on. I have a bit more done but the needles weren’t long enough to wrap around my shoulders. In truth it probably goes to my armpits at this point.

Thoughts so far on the pattern and the yarn:

The yarn has been pretty fun to work with. It feels good on the hands and the resulting fabric is fluffy (if dense). The only problem I’ve had with Biggo is that it’s the devil to join a new ball via spit splicing. The yarn just doesn’t like it (probably because of the nylon content).

The pattern was 5 bucks on Ravelry, and so far so good. The handholding at the beginning with the increases for the body of the sweater are a little annoying to keep up with, but once I switched to using a highlighter to keep track of where I was on the pattern, things went more smoothly.

I sized up from size 10 needles to 10 and a half, and while I’m getting gauge with the yarn I kind of wish that I’d sized up again to maybe an 11 or so. The fabric is quite dense and heavy, and I don’t know if I like the stiffness. I’d prefer a softer sweater with a more relaxed drape. Oh well. I’m not going back and fixing it now, that’s for sure. Onward!