I almost titled this post “Making Kombucha is Gross.” Because it is. So look away now if you don’t want to see giant moldy looking hocky pucks of bacteria! Or to be precise, the SCOBY (symbiotic culture of bacteria and yeast).
I’m a big drinker of kombucha, and it’s not a cheap habit, coming in at about 3.50 per 16 oz bottle. The fermentation is supposed to be good for your gut, but really I just like the fizzy tangy flavor. It’s funky. I knew that I should take the next step into brewing my own, but I just couldn’t get myself to do the research in order to get what I needed.
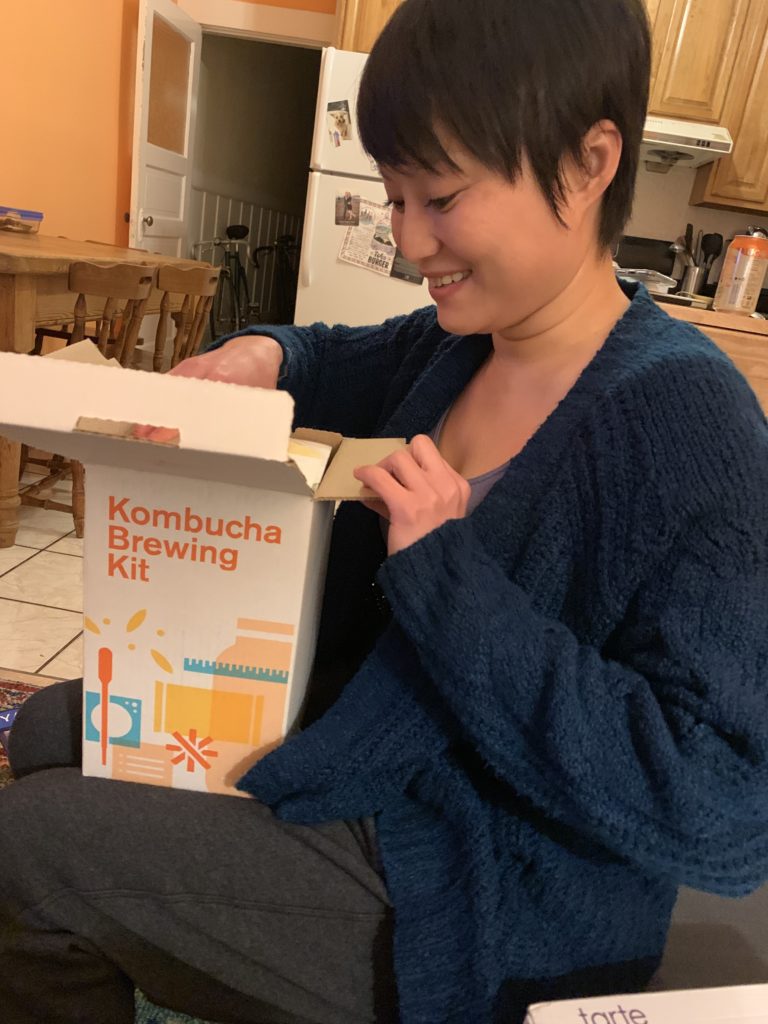
Thankfully there are kombucha starter kits. I asked Ryan’s parents for one for my birthday, and lo and behold! I had no more excuses.
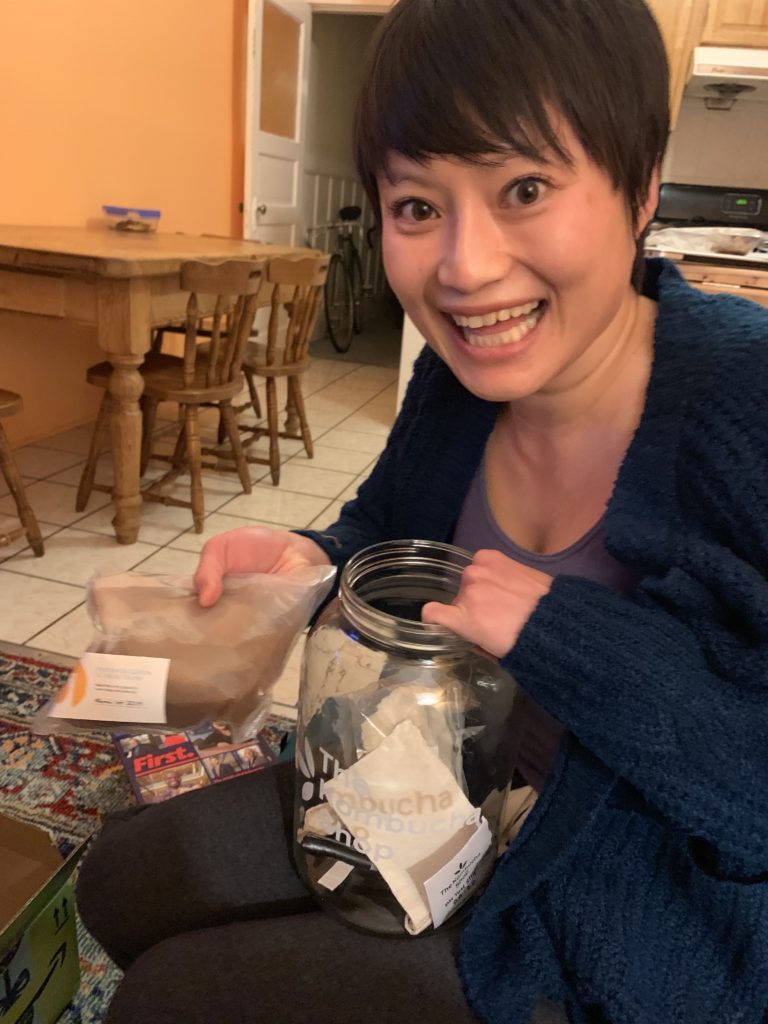
How to Brew
Making kombucha is pretty easy. It’s also a lot more flexible than I’d imagined. Here’s basically how it works, when making a gallon:
- Make some sweet tea. Boil 4 cups water, add 3 tablespoons of tea (not herbal), add 1 cup sugar. Pour into your brewing container.
- Add 8 cups of cold water to the sweet tea.
- Wait for the mixture to cool to between 68 – 86 degrees.
- Check that the PH level is within range – 4.5 and below.
- Add the SCOBY to the mixture along with some starter tea (included with the SCOBY on purchase).
- Cover the brewing container with a filter on top, either cloth or a coffee filter. This keeps the tea clean of debris and allows the carbon dioxide to exit the container. Leave it somewhere warm and dark. I didn’t have a great spot, so I chose the top of my fridge, and added some towels to keep the jar from getting too cold.
- After 7 days, use a pipette to slip beneath the SCOBY culture and grab some of the tea. Taste it. If it’s too sweet, let it go for longer. If it’s too tart, add sugar in the second fermentation process, and brew for less days next time. You can ferment for up to a month, I think.
- Remove the SCOBY, putting it aside with about a cup or two of the tea to use as a starter for the next batch.
- Pour out your tea and drink it as is, or go on to second fermentation.
- Second fermentation: add sugar of some sort (sugar or mashed up berries or juice) to the tea, stir. Bottle the tea into individual bottles. Leave out to ferment several more days. The culture in the tea will keep eating the sugar, and create carbon dioxide, creating that nice fizzzzzz. Move to the fridge.
- Make more tea with your SCOBY and starter tea or put it away until later.
Results
I’ve just finished up my fourth batch of kombucha. Here are the results so far…
Brew #1
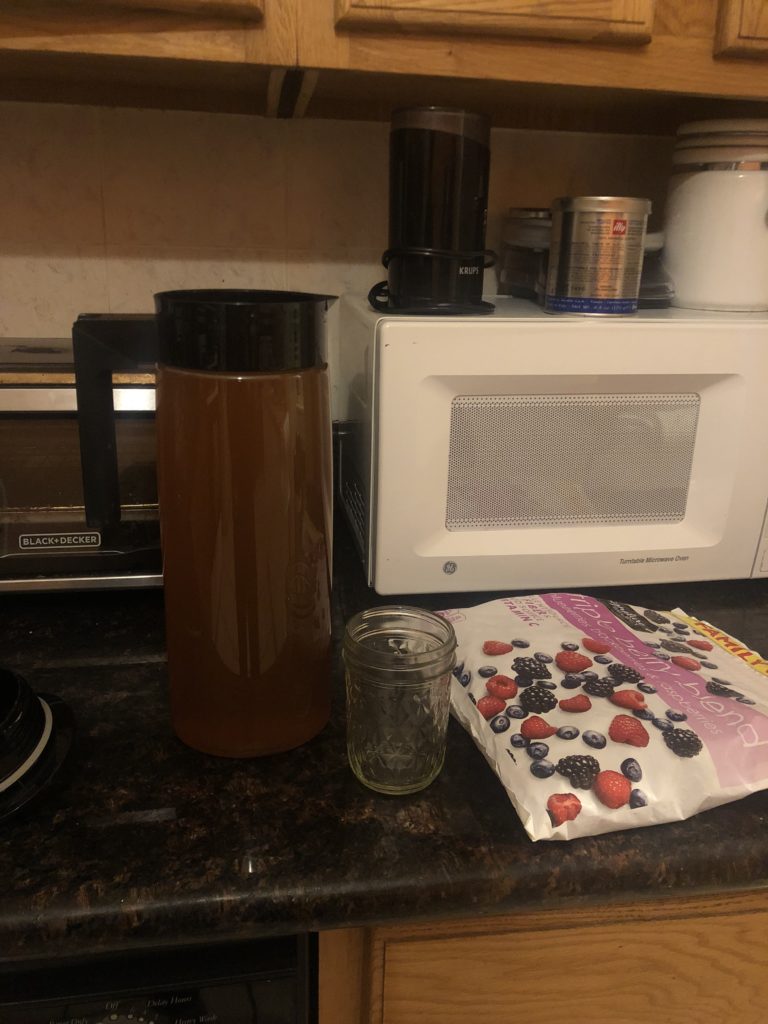
My first batch turned out really awesome, probably because I followed my kit’s instructions by the book. I used the Ceylon tea that was included in my kit, letting it sit for 13 days while I was vacationing in Budapest. Then I second fermented by adding defrosted frozen berries. I didn’t have individual bottles, so I used an airtight pitcher. The taste was really nice. One thing that I didn’t realize… Each time you brew kombucha, a new SCOBY grows on top, and grows to fill the container. Every time. At this point I had a double layer SCOBY.
Brew #2
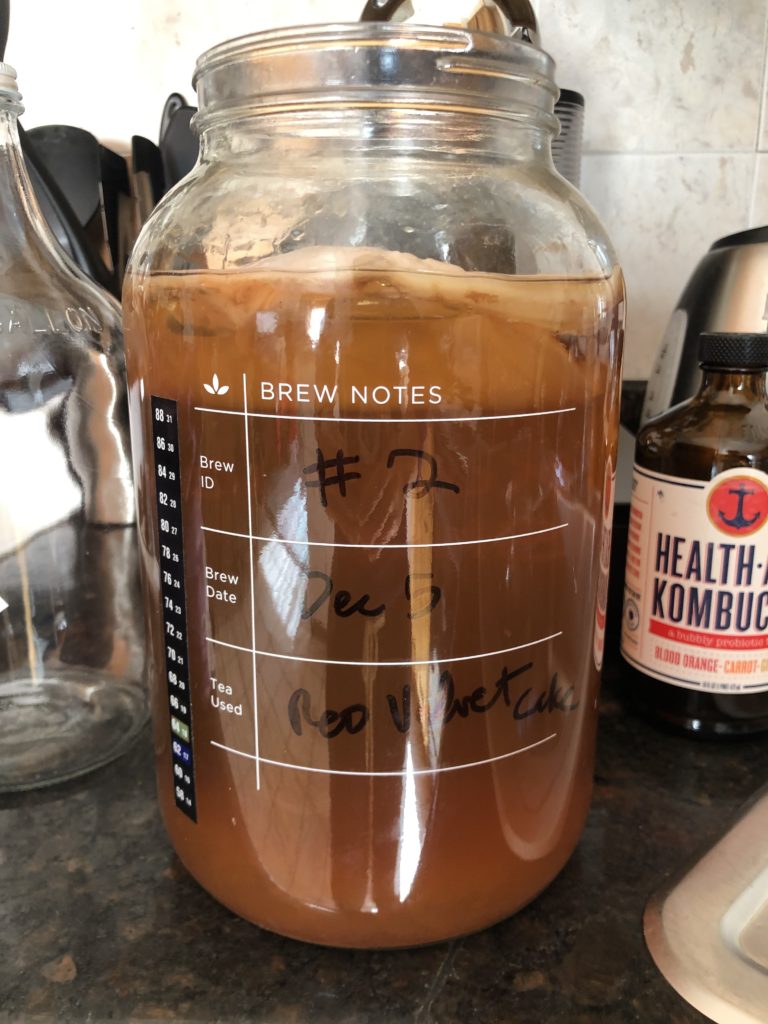
The second batch I brewed with David’s Tea Red Velvet Cake black tea. This tea is special because it includes chocolate chips and sprinkles that melt into the tea and make it creamy and sweet. It’s a ridiculous dessert tea. I threw in my double layered SCOBY, fermenting for 24 days, then second fermented in individual bottles with just sugar. It turned out okay, but tasted a bit artificial due to the tea. Wouldn’t do this again.
Here’s a closeup of my brew jar for batch #2. The temperature reads as 64, which is about 10 degrees lower than it ought to be, and slows down the fermentation.
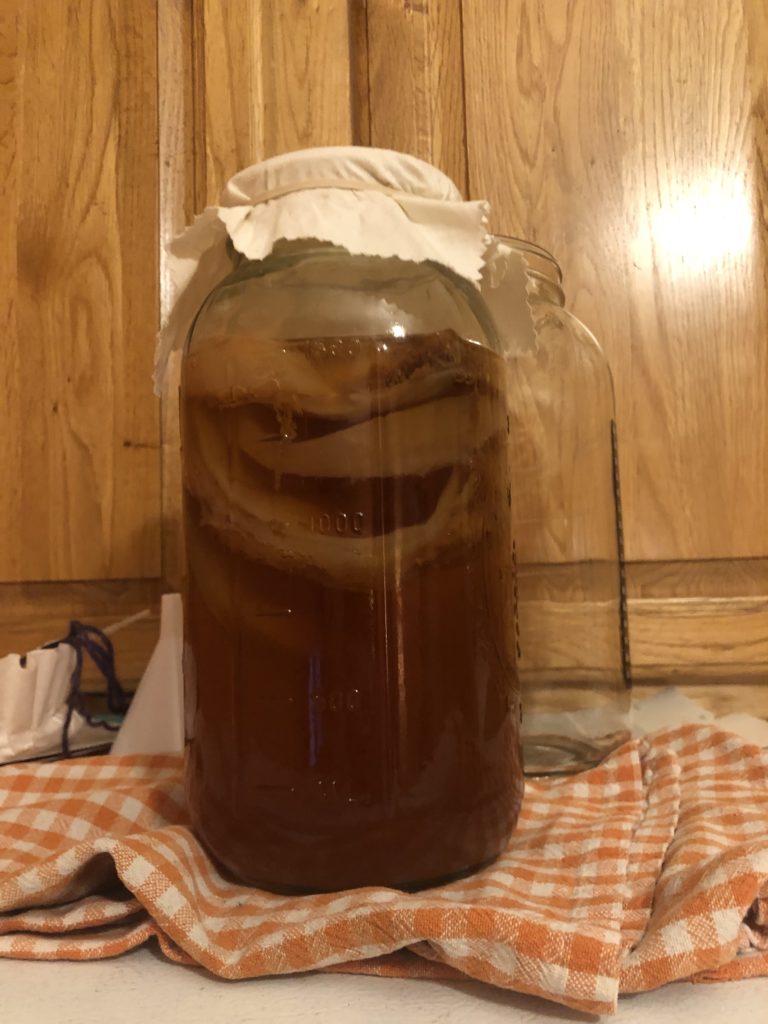
In this picture you can see that there are 2 layers of SCOBY.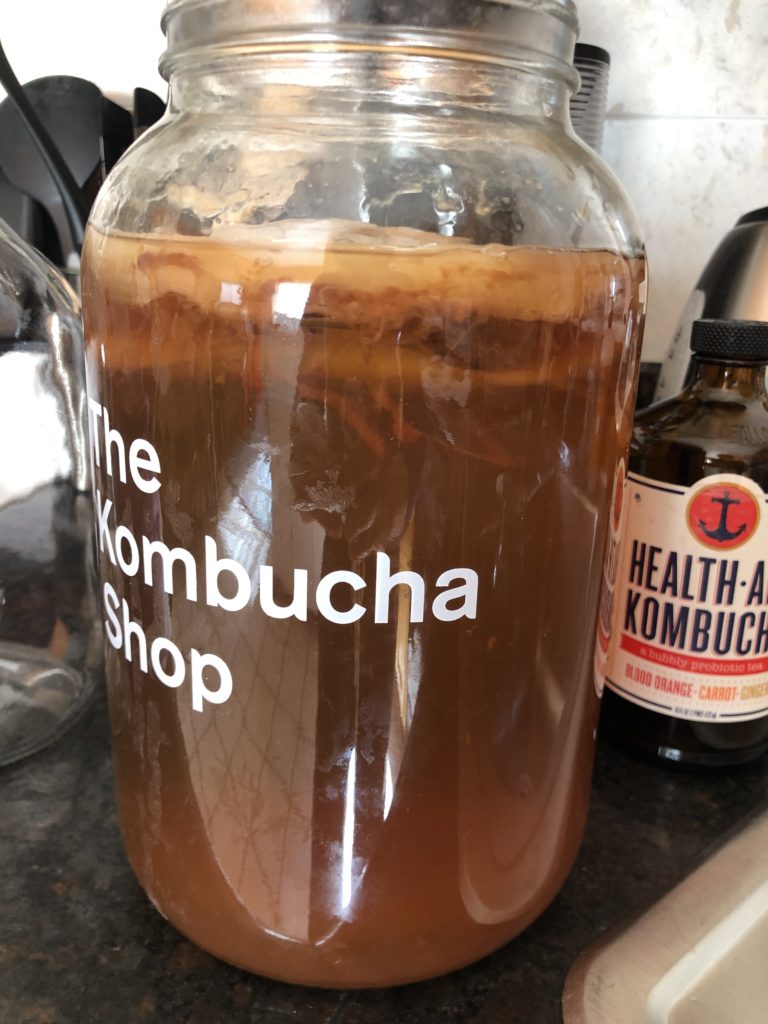
I decided to cut the SCOBY into 2 separate pieces for batches 3 &4. Here is a picture of that SCOBY pulled out onto the chopping block.
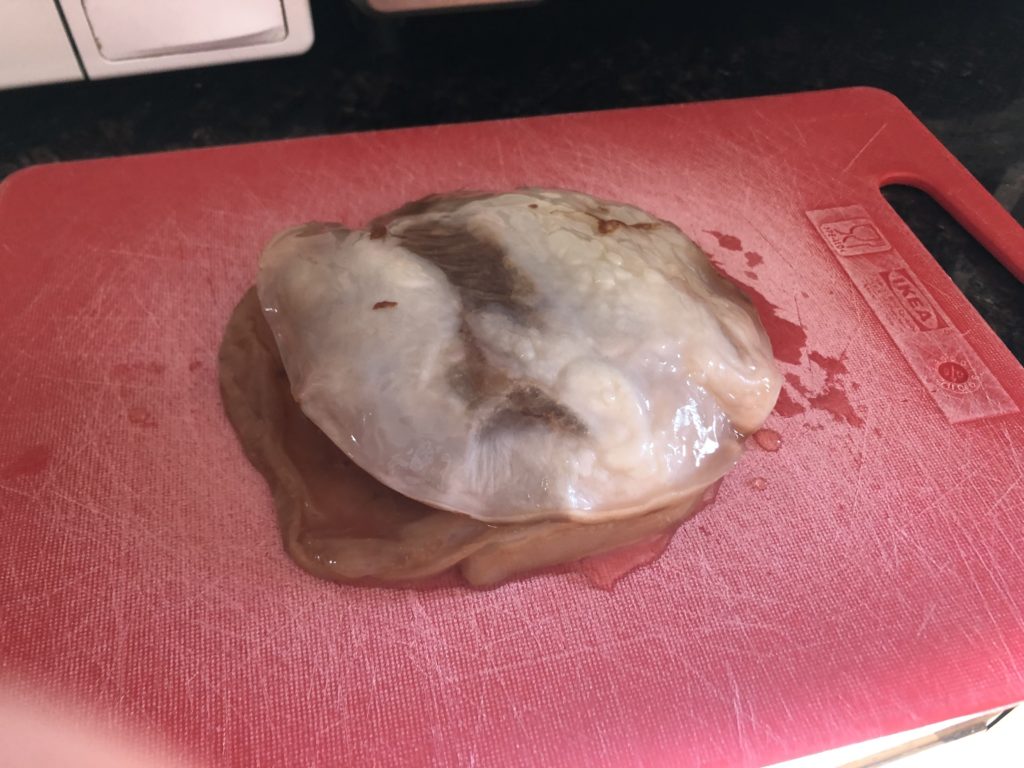
The perfectly circular brown puck is my original SCOBY. The white is everything that has grown during my brews. The brown strands are yeast.
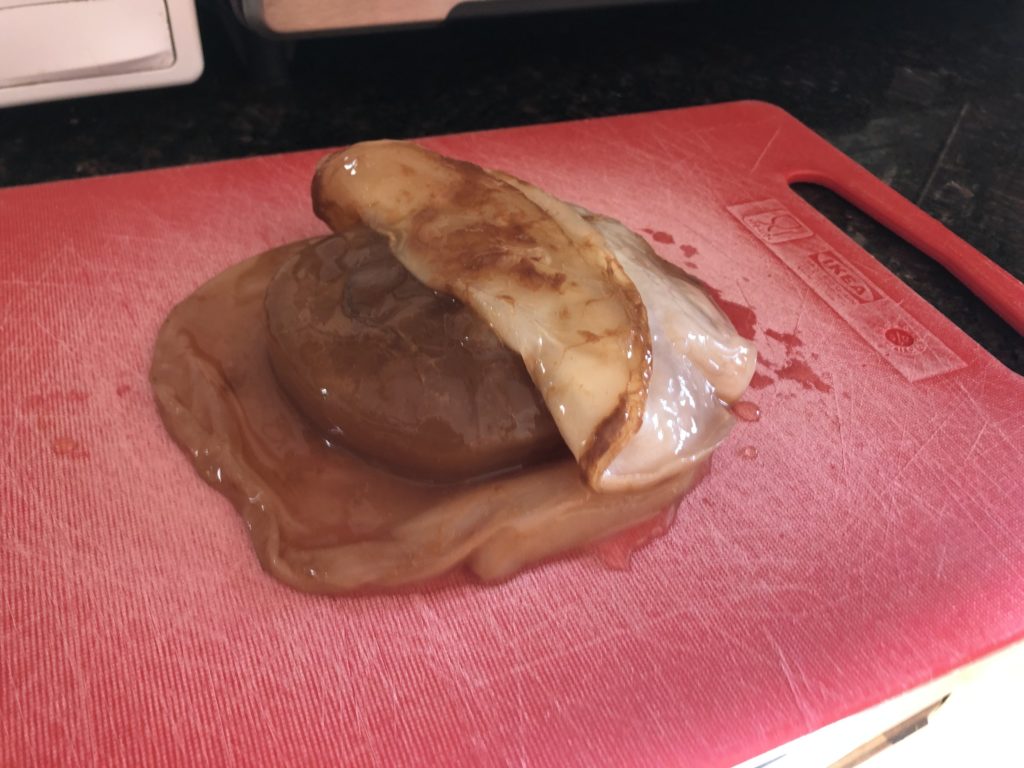
Ta da! And then there were two!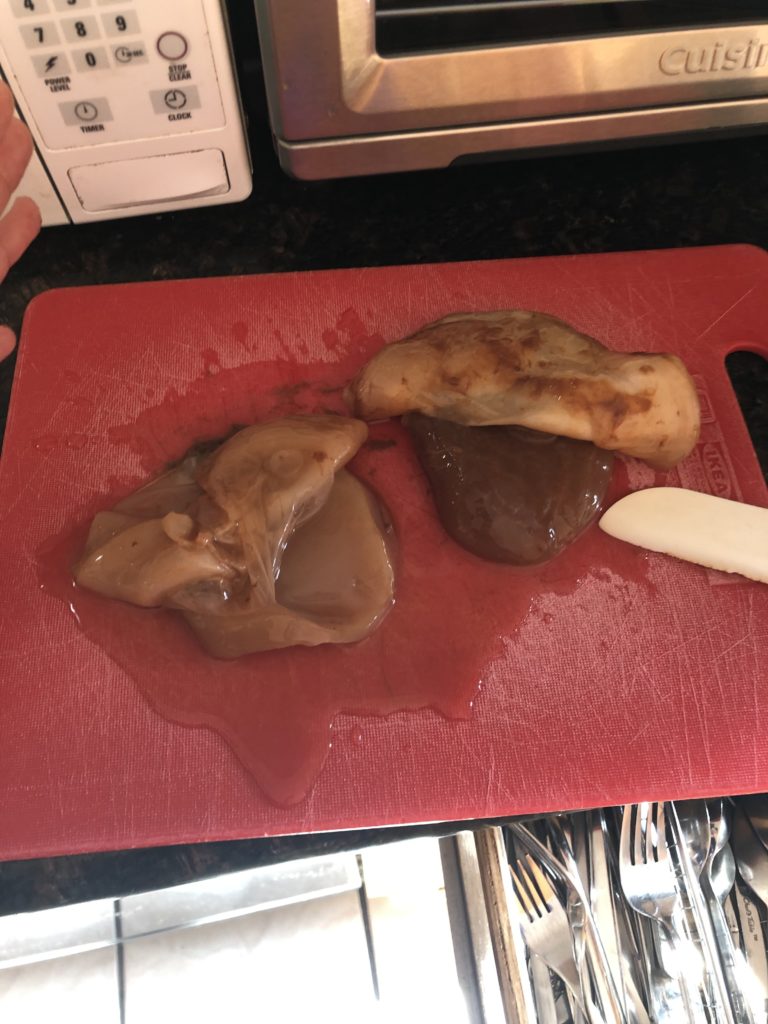
Brews 3 & 4
The third and fourth batches were brewed simultaneously, fermenting for 9 days.
I used Trader Joe’s Winter Wakeup tea, which is a spicy black tea with ginger and cinnamon with the new baby SCOBY. Fourth batch was a half batch of Trader Joe’s Earl Grey tea, using the original SCOBY. The Winter Wakeup kombucha turned out very odd. To be honest, I’m not a huge fan of this tea normally. At this point I still had kombucha in the fridge, so I just called it a wash and threw a whole gallon of tea out! The Earl Grey was less of a disappointment. It tasted perfectly tangy with major Earl Grey undertones, so I skipped the second fermentation. My favorite combination so far!
Things have gotten a little crazy… Now I have 4 SCOBY. TBH I felt a bit overwhelmed, so I created a SCOBY hotel. I’m just going to let them sit there until I’ve drunk down my tea.
Money Saved?
So in the last month and a half, I made 3 1 gallon batches and 1 1/2 gallon batch. I threw out a gallon of tea. At 16 oz per bottle of kombucha, I made 20 bottles of kombucha. 20 bottles at $3.5 = $70! If I hadn’t have thrown out that gallon, it would have been 28 bottles, or $98. Not bad!
Not gonna lie, I still buy store bought kombucha from time to time. But I do really enjoy brewing my own, and I’m looking forward to trying to make a green tea kombucha.The only thing that I have yet to figure out is how to get that super burning fizzy carbonation in the bottle. I’ve heard it’s sometimes artificially added, but I want to second ferment for even longer, and see if I can replicate it.
