A little background
About a year ago I got into linoleum block printing. As a result of seeing my card posts, my friend Michelle from Hummingbird On High fame asked me if I could decorate a couple of napkins for her. After investigating the technique on Etsy, and seeing the block printed napkins post on Apartment Therapy, I agreed. I have worked with fabric before, but never in this particular way.
So Michelle asked me eons ago. Of course life got in the way, as it always does. By the time that I finally tried out fabric printing with linoleum blocks, I realized that for this project it didn’t make any sense. Using stencils would achieve acceptable results with much less work and a more even finish.
I stopped by the local art shop and picked up several different types of letter stencils in several different fonts and played around to find a look I liked. So I prepared! And YET when I finally sat down and pulled it all together, I still made several mistakes. Here’s a quick recap:
How to + Don’t Make the Same Mistakes I Did
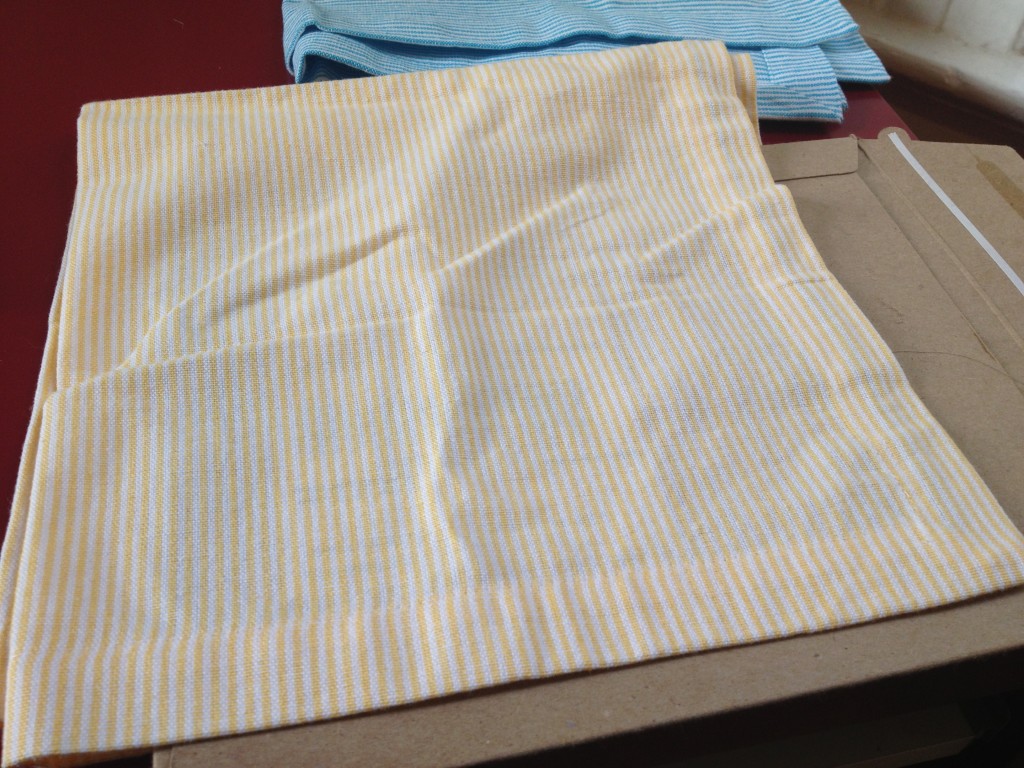
Ah, napkin number one. So lemony yellow fresh, so full of promise. It’s going to have the word “EAT” decorated in the bottom right hand corner. I threw down a cardboard mailer to catch the ink.
Mistake #1: Remember to wash and dry your fabric first before decorating!
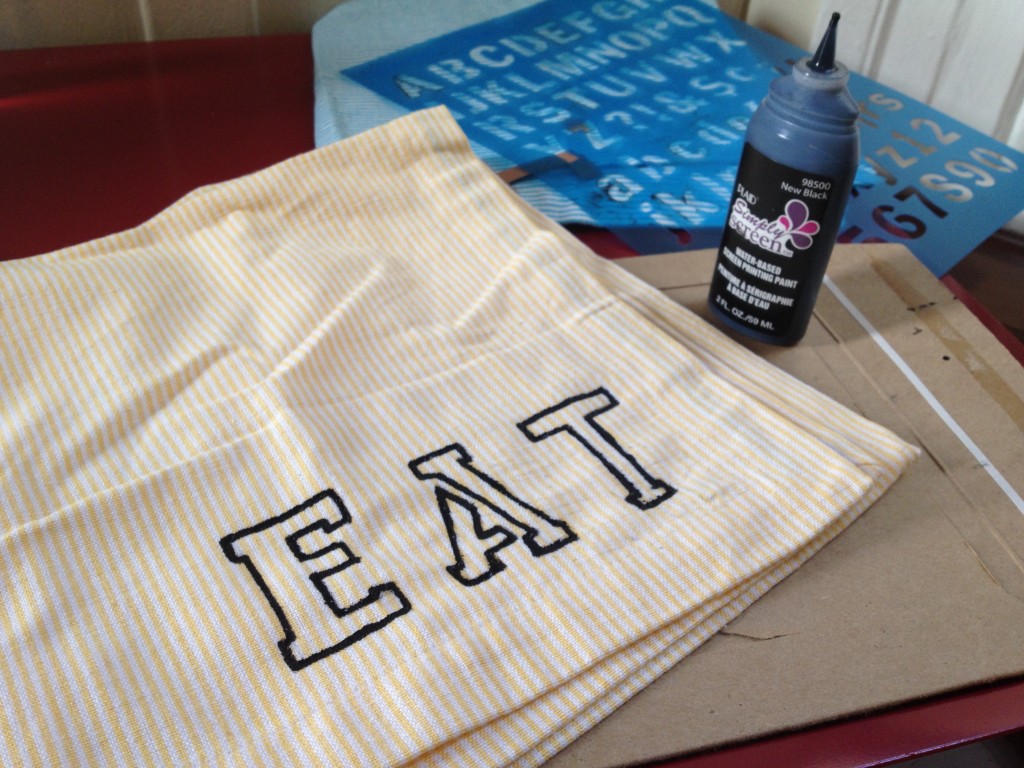
Next I traced the outlines of the letters with pencil. I messed up, so I erased my mistakes. It became a mess that lasted until the end 🙁
Mistake #2: Do not trace and erase pencil on fabric. Use fabric chalk.
I traced over my pencil with the water-based black ink I’d purchased because I thought I was going to be filling it in with shading lines.
Mistake #3: Avoid freehanding if you can, the result is less polished.
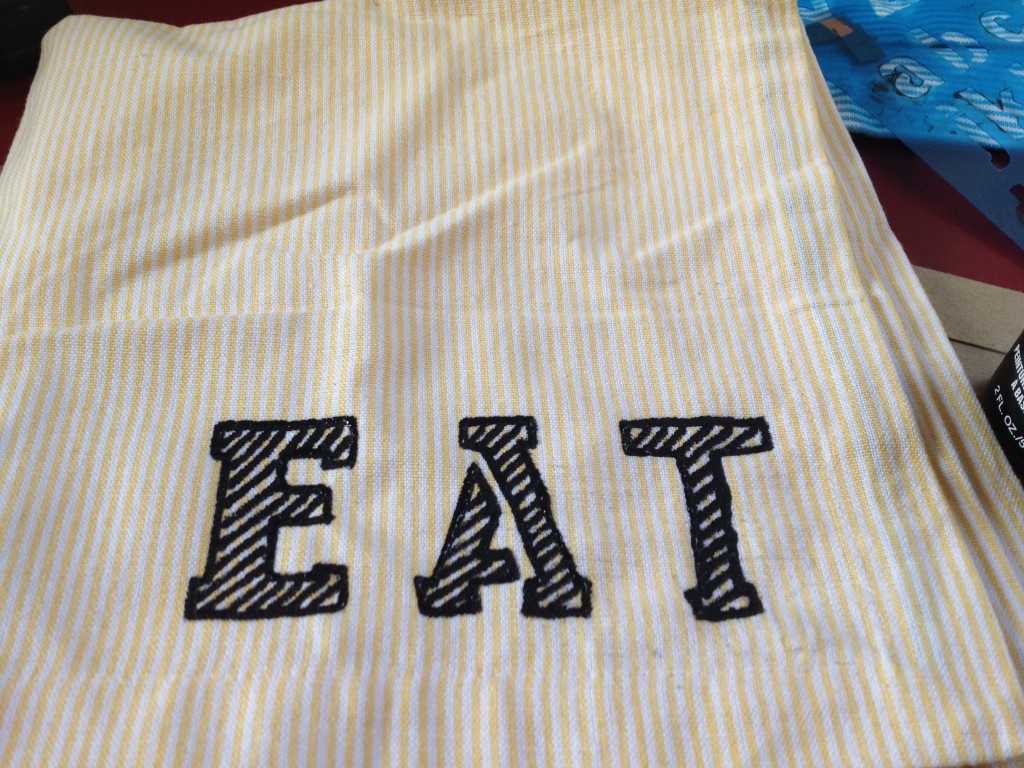
Ugh. You can see the erased pencil. So terrible. I ended up not liking the shading lines, so I filled in the letters completely black.
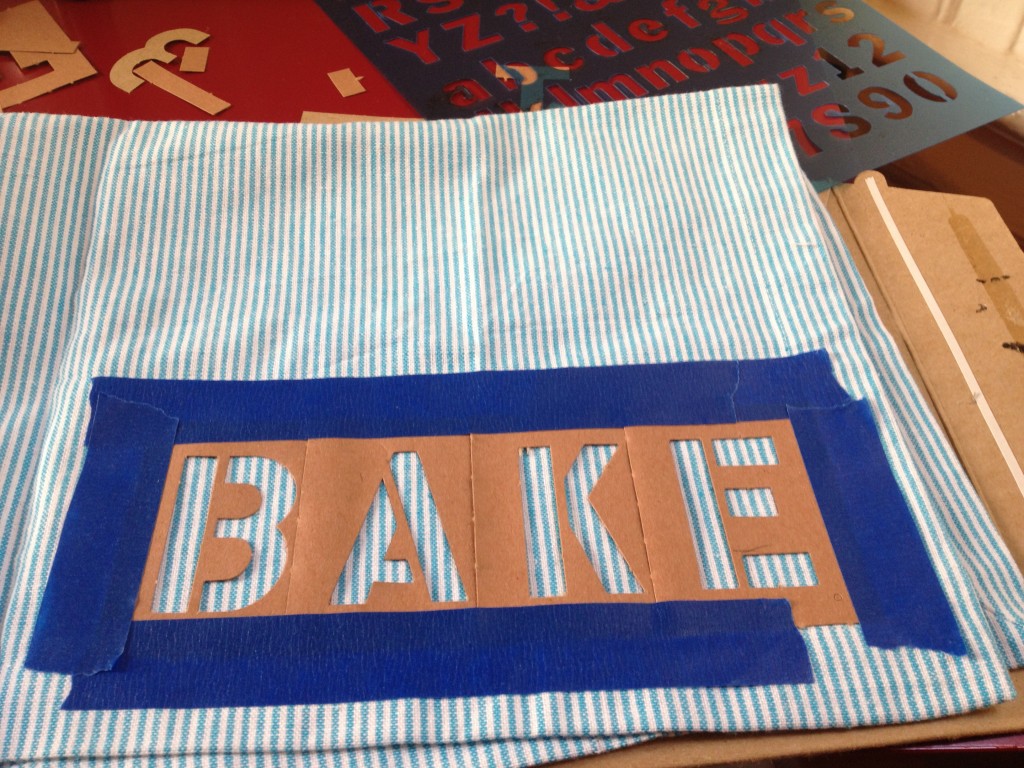
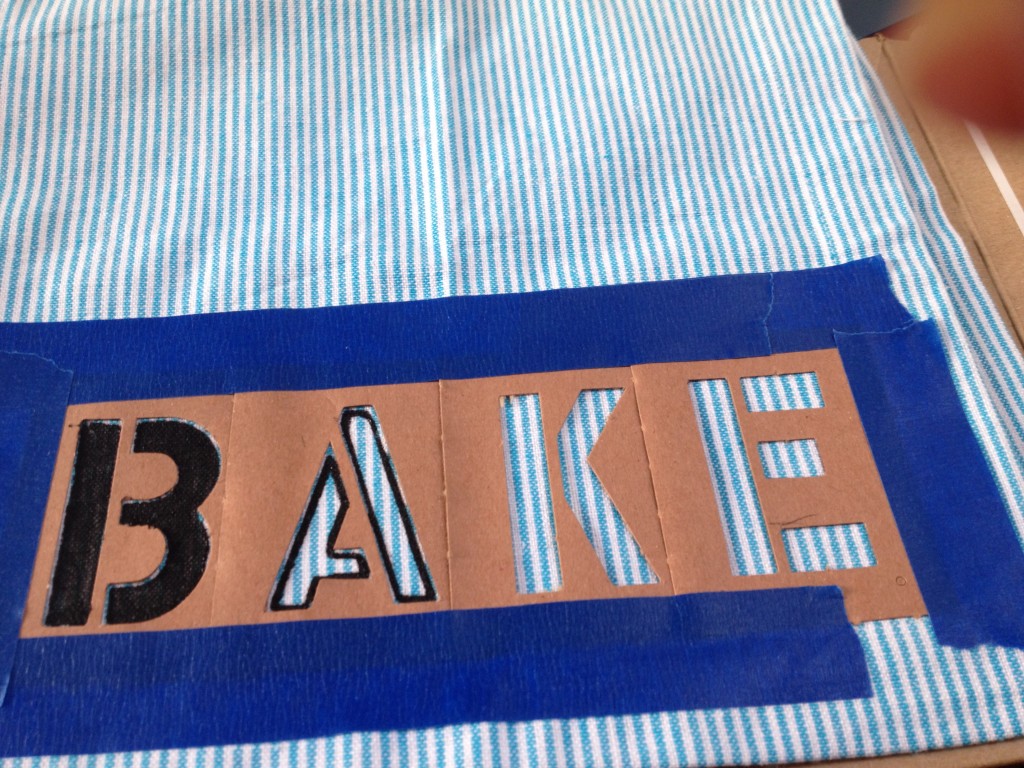
For the next napkin I got it together a little better. I taped down my stencils.
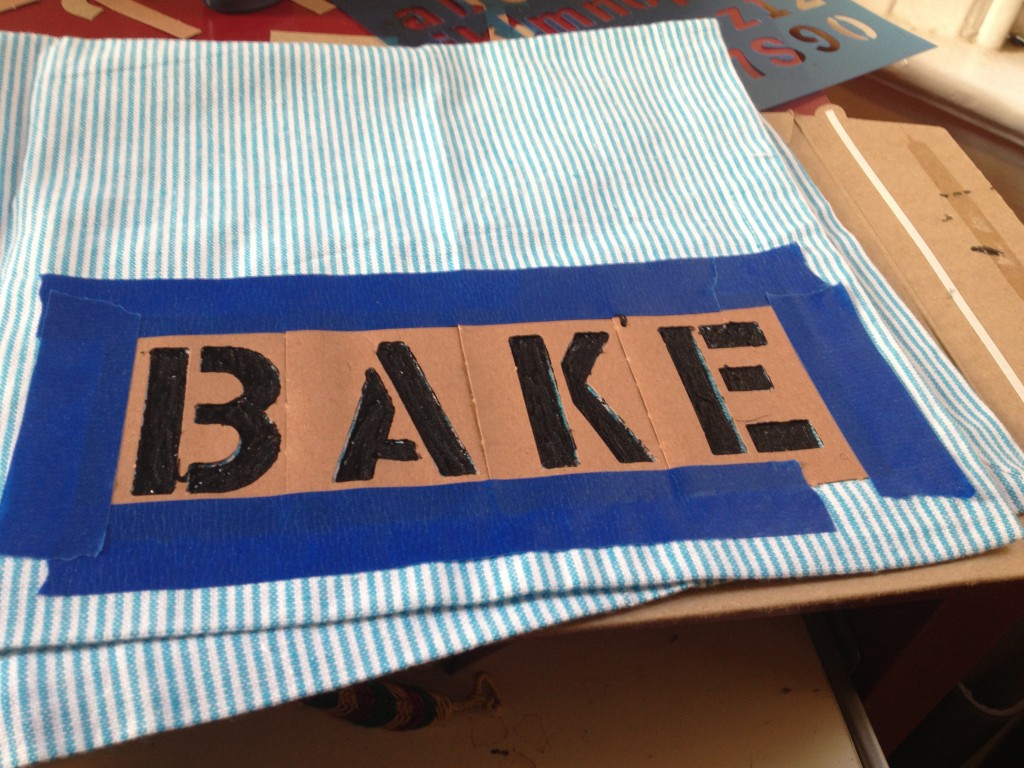
And carefully filled in the outline with a very very thin coat of the ink (different effect than the first time around). Then I let it dry for about 10 minutes. Then I added another layer.
It’s all good, right? NOOOOOO.
Mistake #4: I did not put my ink protection between the napkin layers. The ink bled through. D’oh.
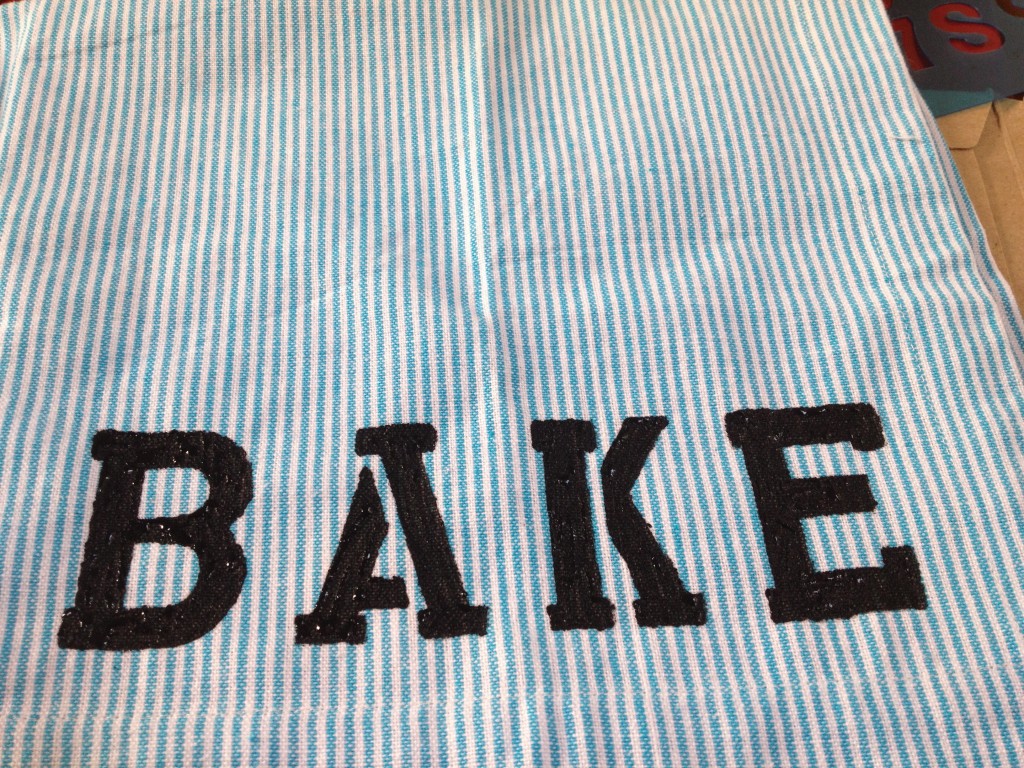
Next I removed the stencils and manually added the serifs to the letters. This is about what it looked like when I was done. I added another thin layer of paint to fill out the empty white spots after this picture was taken. The napkins air dried for about 24 hours. The finishing touches were a quick ironing to set the ink, hand washing in cold water, air dry (again), followed by another bout with the iron to press the napkins.
Phew! What work just to decorate some napkins! Seriously though if you want to decorate fabric you should have at it. The main tips again:
- Practice on a rag first
- Wash and dry your fabric before printing/decorating. It may shrink.
- Lay down something in between layers so the ink does not bleed through. A piece of cardboard works well. Avoid newspaper.
- Use fabric chalk to sketch out your ideas.
- Don’t go freehand if you don’t have to. Best to print out a stencil and tape it down for stability.
- Use water-soluble screen printing ink. I used Simply Green, which had a precise nozzle tip for detail work.
- Use very thin layers of ink. If you get too gung ho about it, it’ll be all puffy, and that is gross, especially when you iron it out.
- If it looks like crap when you’re done decorating, don’t worry. It will probably even out after you iron, wash/dry and iron again.
Happy crafting!
