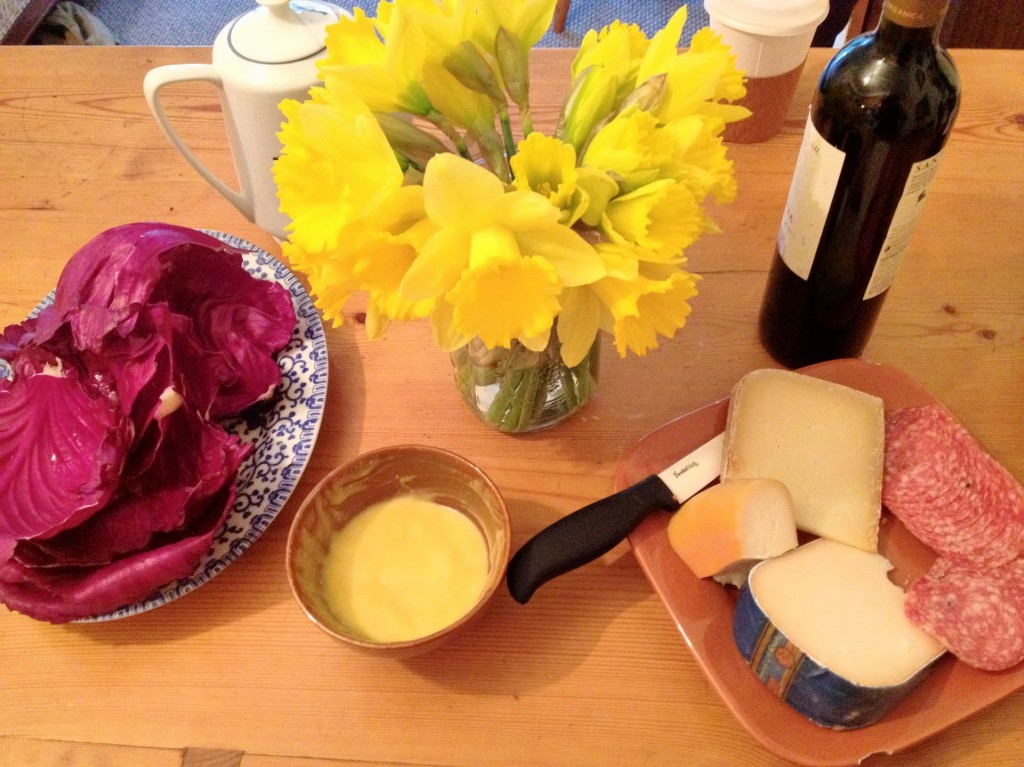
My friends decided to do a craft night at my house- my knitting is pretty much dead right now, so I chose to work on my block printing. We had a nice spread of munchies to keep us fortified- red cabbage, miso dip, cheese, meat, bread and soup.
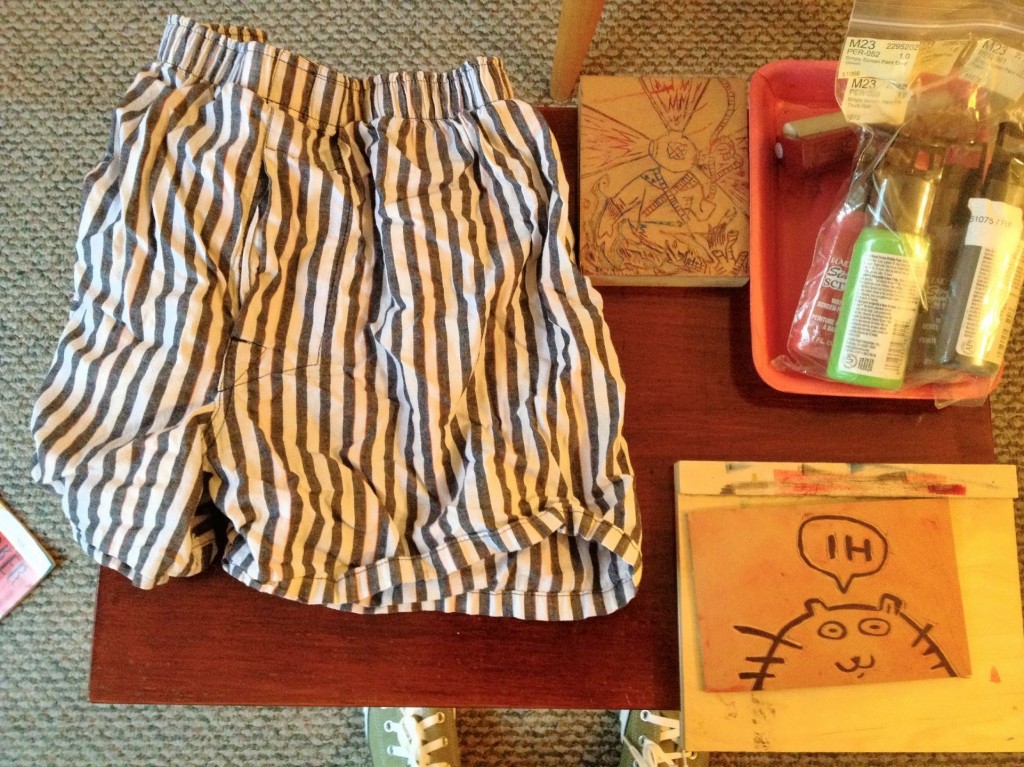
So I’d agreed to help my friend Michelle  make some printed napkins. After a bit of research I’d heard that screenprinting ink was the way to go with block printing on fabrics. Oh lord. IT WAS NOT PRETTY.
I put some ink in my tray, and the brayer (rolley thing) wouldn’t move! Even worse, once I got the ink on the block, it crept into all of the crevices of my linoleum block. It just wasn’t tacky enough. What a waste of time. Since I’d already bought so much ink, I decided that the only way to use this stuff would be to make some stencils. I dug the packaging of my March Birchbox out of the recycling, and cut up a simple “EAT” out of the cardboard. Then I tried printing it with the brayer onto a random pair of boxer shorts that came from my house’s “bicycle rags” pile. ALSO- not pretty. The transfer was so-so. So I think the moral of the story is don’t use a plastic brayer for fabric ink. With a fluffy brayer you might get a decent effect.
Feeling desperate, I raided my makeup case. I found a Bare Minerals Baby Buki brush, took a deep breath, and proceeded to slather the brush in the ink. The results were okay but didn’t merit a photo, even though the image of “EAT EAT EAT” all over a pair of boxers was pretty funny.
I think my next course of attack will be to try a proper paintbrush with my stencil, or a brayer from a paintshop.
Oh well. Since that was a bust, I moved on to finishing my latest linoleum cut.
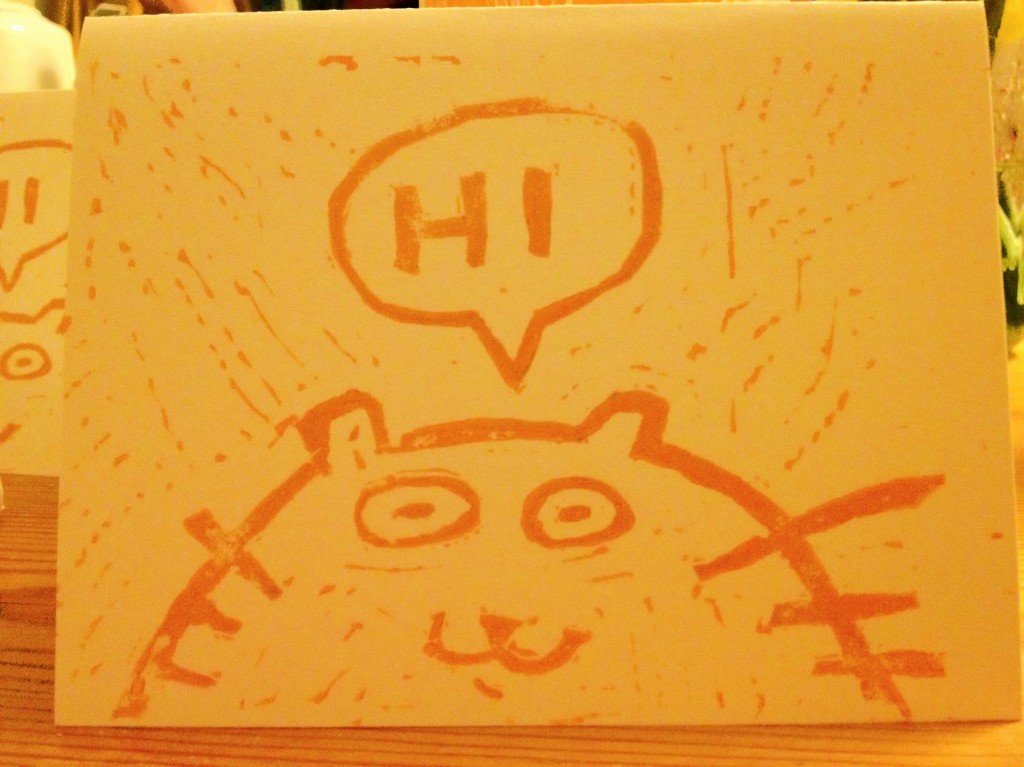
I finished up my cat print. I really like how it turned out. I cut this print on unmounted linoleum, and the process and the printing were very different than with my first print (on a mounted block). Basically, the unmounted linoleum I purchased (Speedball) was a little bit softer, thus easier to carve  and good for prints like this with lots of negative space.
The unmounted linoleum was also cheaper, and takes up much less physical space in your home than the blocks.
There were a few major disadvantages to this format. The linoleum would scrunch up sometimes if you were too aggressive with your carving. Also, printing was harder with the unmounted lino. Since it’s not as deep you are more likely to have mistakes with your printing (edges of the paper touching the messy workspace, etc). The softer linoleum seemed to shake out in little clumps and sabotage my printing. Also, when you wash off your ink, the unmounted linoleum really seems to suck up water and warp. I wouldn’t want to do anything really intricate on this stuff. It doesn’t feel like it will last.
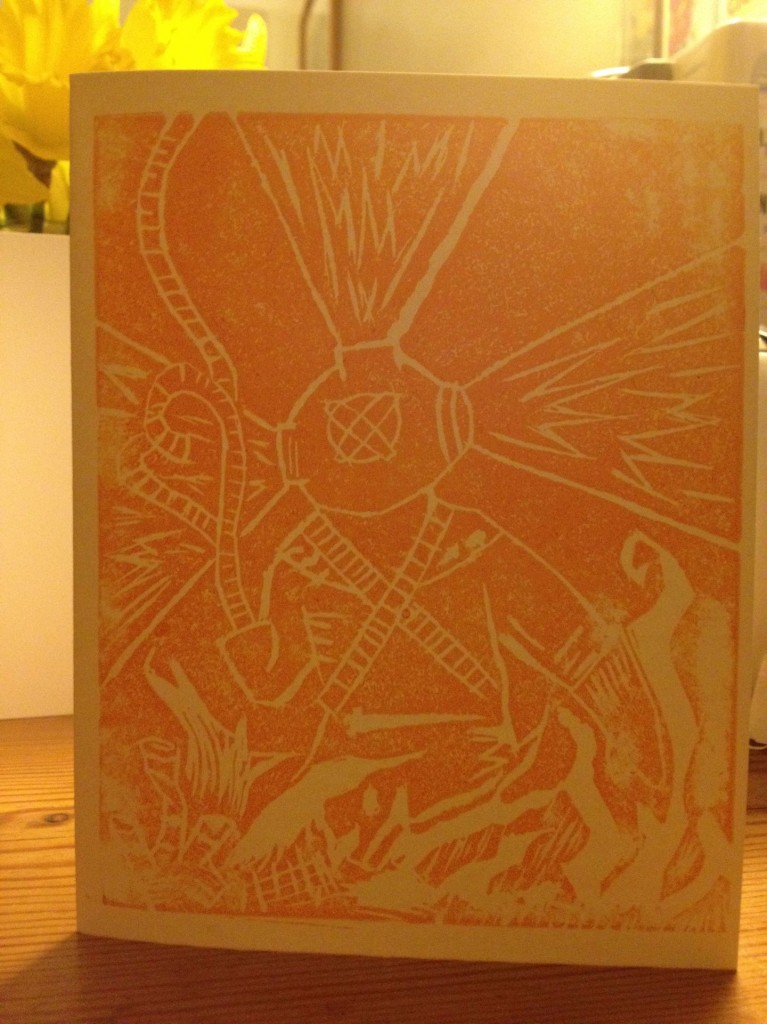
I liked the golden yellow ink that I was using so much that I printed out a few copies of “Diving for love.” The lighting is a bit dark because I didn’t want to kill the mood of craft night, but geez this goldenrod is so beautiful. Just trust me.
All in all the night was a success. Everyone made progress on their projects. Now I wonder what to print next? I may move on to working with rubber. I’d like to make a stamp for my etsy shop, if I can ever think of a name for it. 🙂
Reallllly want to see the photo of the EAT EAT EAT boxers.