Craft, Knitting

Knit: The “Filly”- Horseshoe Lace Headband

20140418-162128.jpg

The thing that I love most about knitting is that out of the same basic stitches you can create so many different and beautiful designs. Colorwork, cables, and my favorite … lace, all come from the same base stitches, with a few tricks thrown in.

After plowing away on quite a handful of winter and summer hatsfor my shop, I felt like a change of pace.

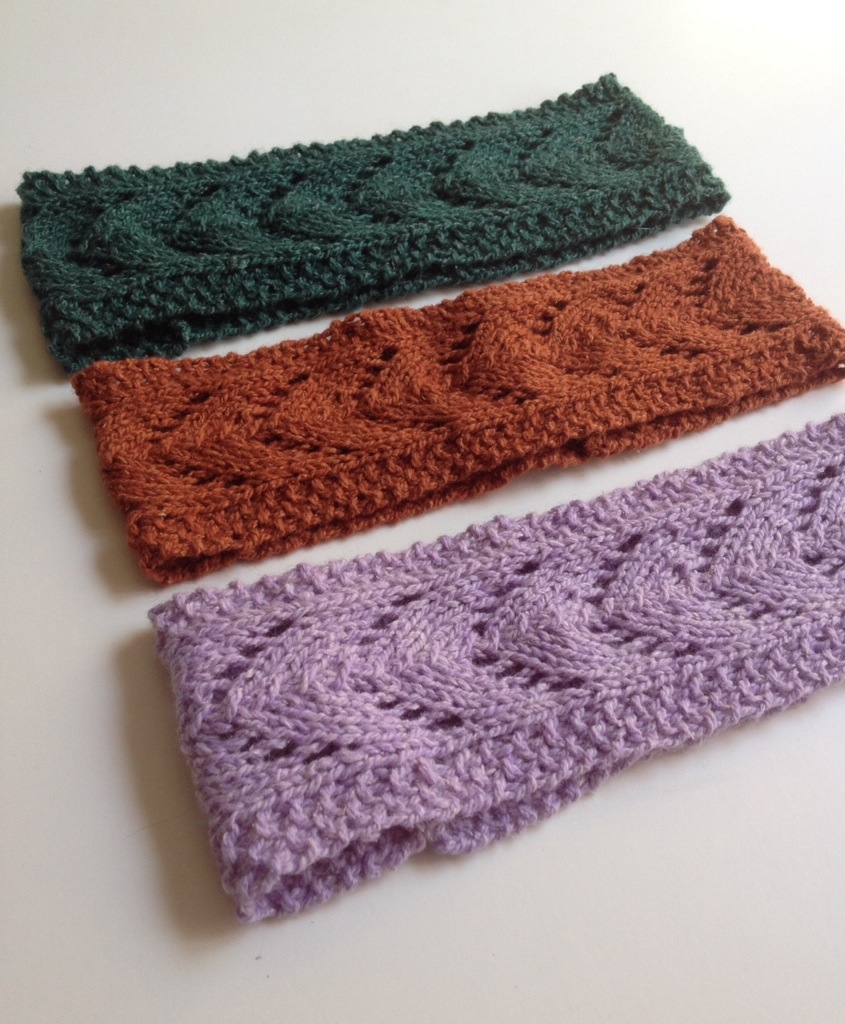
These lace knit headbands are quick to knit, featuring an easy but memorable horseshoe lace pattern. Also, the yarn is a pleasure to knit with. The mix of silk, wool and nylon makes it perfect for spring weather. I have knit up a few for my shop. It’s kind of hard to stop, they go so fast. This pattern is so simple that I feel silly writing it up, but here it is:


The “Filly” – Horseshoe Lace Headband

  • Yarn: Elsebeth Lavold Silky Wool
  • Needles: Size 6
  • Dimensions: 2.75 inches tall X (width varies)
  • Guage: Not critical

Horseshoe Lace Pattern (Slightly modified on the wrong side because I did not read the pattern correctly!):

In Multiples of 10 + 1 extra stitch

  1. (Right side) k1 *yo, k3, sl1, k2tog – psso, k3, yo, k1*
  2. (Wrong side) Purl all sts
  3.  k1 *k1,yo, k2, sl1, k2tog – psso, k2, yo, k2*
  4. Purl all sts
  5. k1 *k2,yo, k1, sl1, k2tog – psso, k1, yo, k3*
  6. Purl all sts
  7. k1 *k3,yo, sl1, k2tog-psso,yo k4*.
  8. Purl all sts

Pattern:

  1. CO 17 stitches.
  2. Right side: P1,K1,P1, knit to the last three stitches, P1, K1, P1
  3. Wrong side: P1,K1,P1, purl to the last three stitches, P1, K1, P1
  4. Repeat rows 2 & 3 once, for a total of 4 rows
  5. Right side: P1,K1,P1, *Work the first row of the Horseshoe Lace Pattern*, P1,K1,P1
  6. Continue working the Horseshoe Lace Pattern, with a seed stitch border, to the desired length.  For Newborns, this will be about 9-10 repeats, or 12-14 inches unstretched. For adult women, this will be about 15 repeats. Basically just stretch the headband across your head to decide when to stop. 🙂
  7. Work two more rows of stockinette with a seed stitch border. End on the wrong side.
  8. Sew that baby up!

ETA: Thanks to a kindly reader who noted that line 7 of the horseshoe pattern incorrectly added a K1. I copied from my terribly scribbled notes. Anyways, pattern is currently updated. Let me know if there’s any other issues!

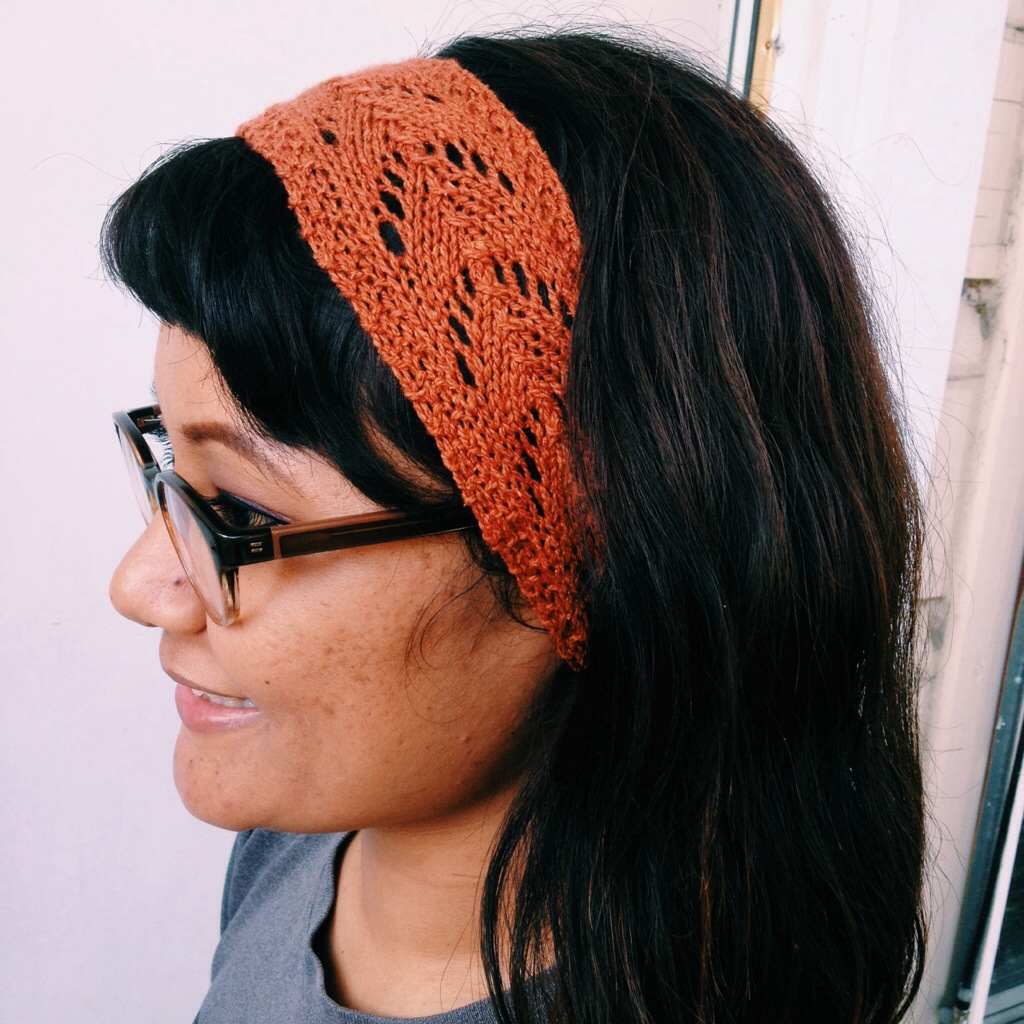
Modeled by my roommate!
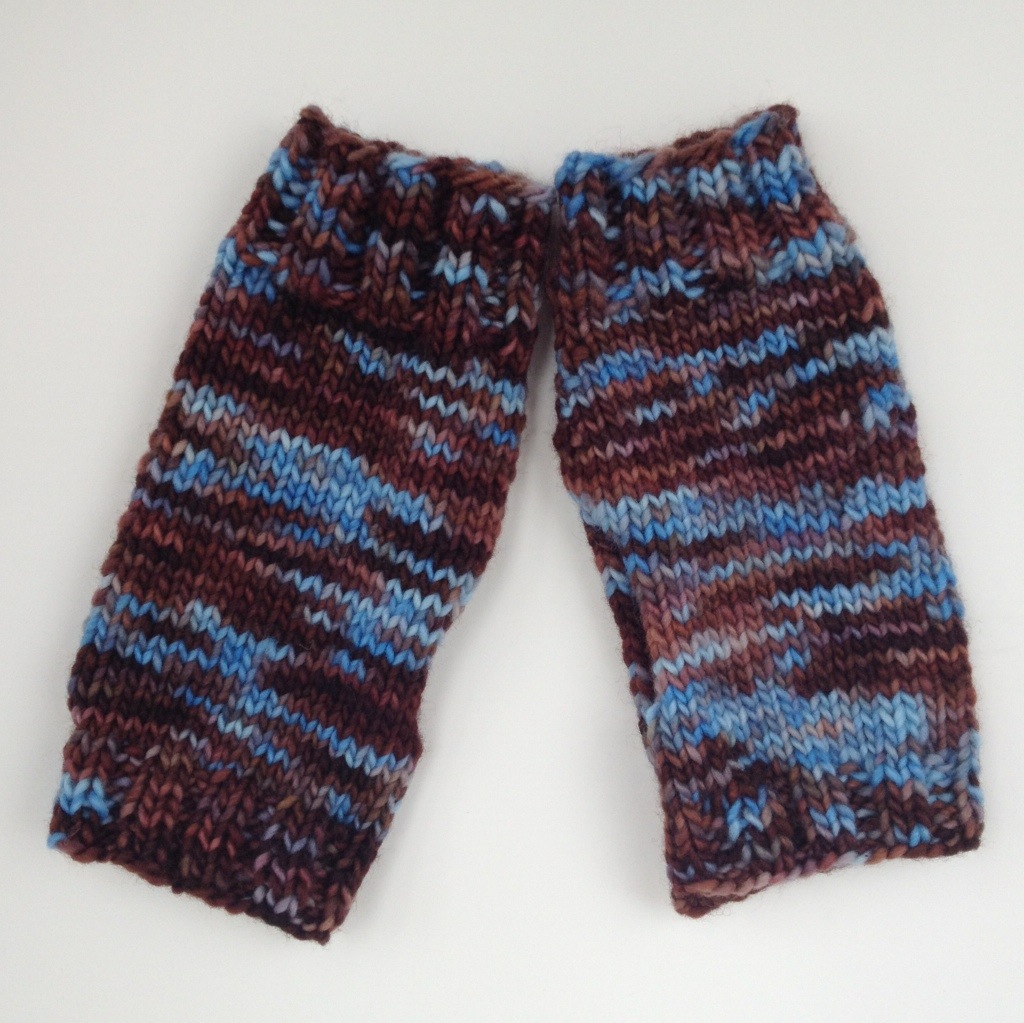
20140418-162107.jpg


Baby sizes!
20140418-162002.jpg


Craft, Knitting

Knit: Dexter Fingerless Mitts

20140308-205153.jpg

IMG_0188

I’ve been making fingerless mitts for my Etsy shop with my leftovers from all the hat-making. Finally got around to writing down the pattern. Here are two quick versions, one knit flat, and the other in the round. It’s all “Well duh” knitting for an experienced knitter, but hey, never hurts to have a pattern, right? Enjoy!

  • Yarn: Worsted weight. About 75 yards or under. The pink yarn is Manos Del Uruguay Maxima in Peach MelbaThe brown and blue is Malabrigo Merino Worsted in 259 Charrua
  • Needles: Size 7 DPNs
  • Gauge: 5 sts/inch
  • Dimensions: Pink/Flat: 3 1/2 inches wide and 4 3/4 inches tall. Brown + Blue: 3 1/2 inches wide and 7 inches tall.

IMG_0185

IMG_0113

Garter Stitch Fingerless Gloves- Knit Flat (Pink) 

  1. Cast on 36 stitches.
  2. Knit in K2, P2 ribbing for 5 rows.
  3. Switch to garter stitch for 3 1/2 inches, or until you’re about .75 inches away from where you’d like your gloves to end.
  4. Knit in K2, P2 ribbing for 5 rows.
  5. Bind off in pattern.
  6. Sew up the sides of the mitts to accommodate your thumb.
  7. Weave in the ends. Voila!

20140308-205210.jpg

Stockinette Stitch Fingerless Gloves- Knit in the Round (Brown and Blue)

  1. Cast on 32 stitches on a set of double pointed needles.
  2. Join, and knit in K2, P2 ribbing for one and a half inches.
  3. K 1 row.
  4. Next row: K1F&B, K to the end
  5. Next row: K straight
  6. Repeat steps 4 & 5 3 more times to increase for a total of 4 stitches. You will now have 36 stitches total.
  7. Knit in stockinette until you reach the base of your thumb.
  8. Switch to flat knitting for several inches, until you reach the crook of your thumb.
  9. Rejoin to knit in the round again.
  10. Knit in stockinette until you are about an inch from where you’d like your gloves to end.
  11. Knit in K2 P2 ribbing for an inch.
  12. Bind off in pattern.
  13. Weave in the ends. Wheeee!


Knitting

Knitting a Dog Sweater for Astor

I have knit many things in the six years since I taught myself to knit. I’ve made stuffed animals, crazy cowl things, a bag with the image of Audrey Hepburn stitched on the side, shawls, hats, gloves, cardigans, socks, mufflers, t-shirts, tube tops, oh, and yes scarves, many many scarves.

I’ve never knit a dog sweater before- but now I will! Things have been super windy in San Francisco lately (10-30 mph winds), so I think Astor would appreciate it.

What’s that blurry yellow thing running around Alamo Square?

Oh! It’s Astor!


Mmmmmm it’s windy…

Normally I’m sorta picky when it comes to choosing garment patterns, but the size of a dog sweater is really not much of a time commitment. After a little googling, I’ve decided on the Darling Darby Sweater I found on Ravelry, by Desert Rose Designs.

It’s super customizable size-wise, so the sweater will fit her perfectly (er… if I do a good job). Another plus is that the pattern is written for worsted weight and should only take about 300 yards.  I’m thinking that a superwash merino would be perfect. Maybe a sporty bordeaux and cream striped sweater?

I haven’t felt this excited for a project in a long time. Looking forward to rummaging through my stash and hitting up yarn shops this week!